Sponsored Post: Today I’m partnering with Maybelline and Collective Bias to share my looks to love just in time for Valentine’s Day. All opinions are my own. :) #MNYLookstoLove #CollectiveBias
Contouring is a makeup trend that won’t quit. For a hot minute, it was all about the strobing, but I’m back to seeing contouring kits and new products related to the contour everywhere! For a long time, I was mystified by the concept of contouring. Sure, natural shadows and highlights of the face make sense, but creating them with makeup? Seemed like something only done in the movies!
Definitely not these days, and with the introduction of so many accessible contour kits, it’s easier than ever to give it a try. Maybelline recently introduced the Master Contour Palette and honestly it’s one of the best kits I’ve tried. The shades of all three products in the kit go really well with my cool-to-neutral fair skin tone and for the price, the color payoff can’t be beat. Today I want to share with you how easy it is to add contouring to your everyday routine, as well as a peek at the brand new Maybelline Dream Velvet Foundation!
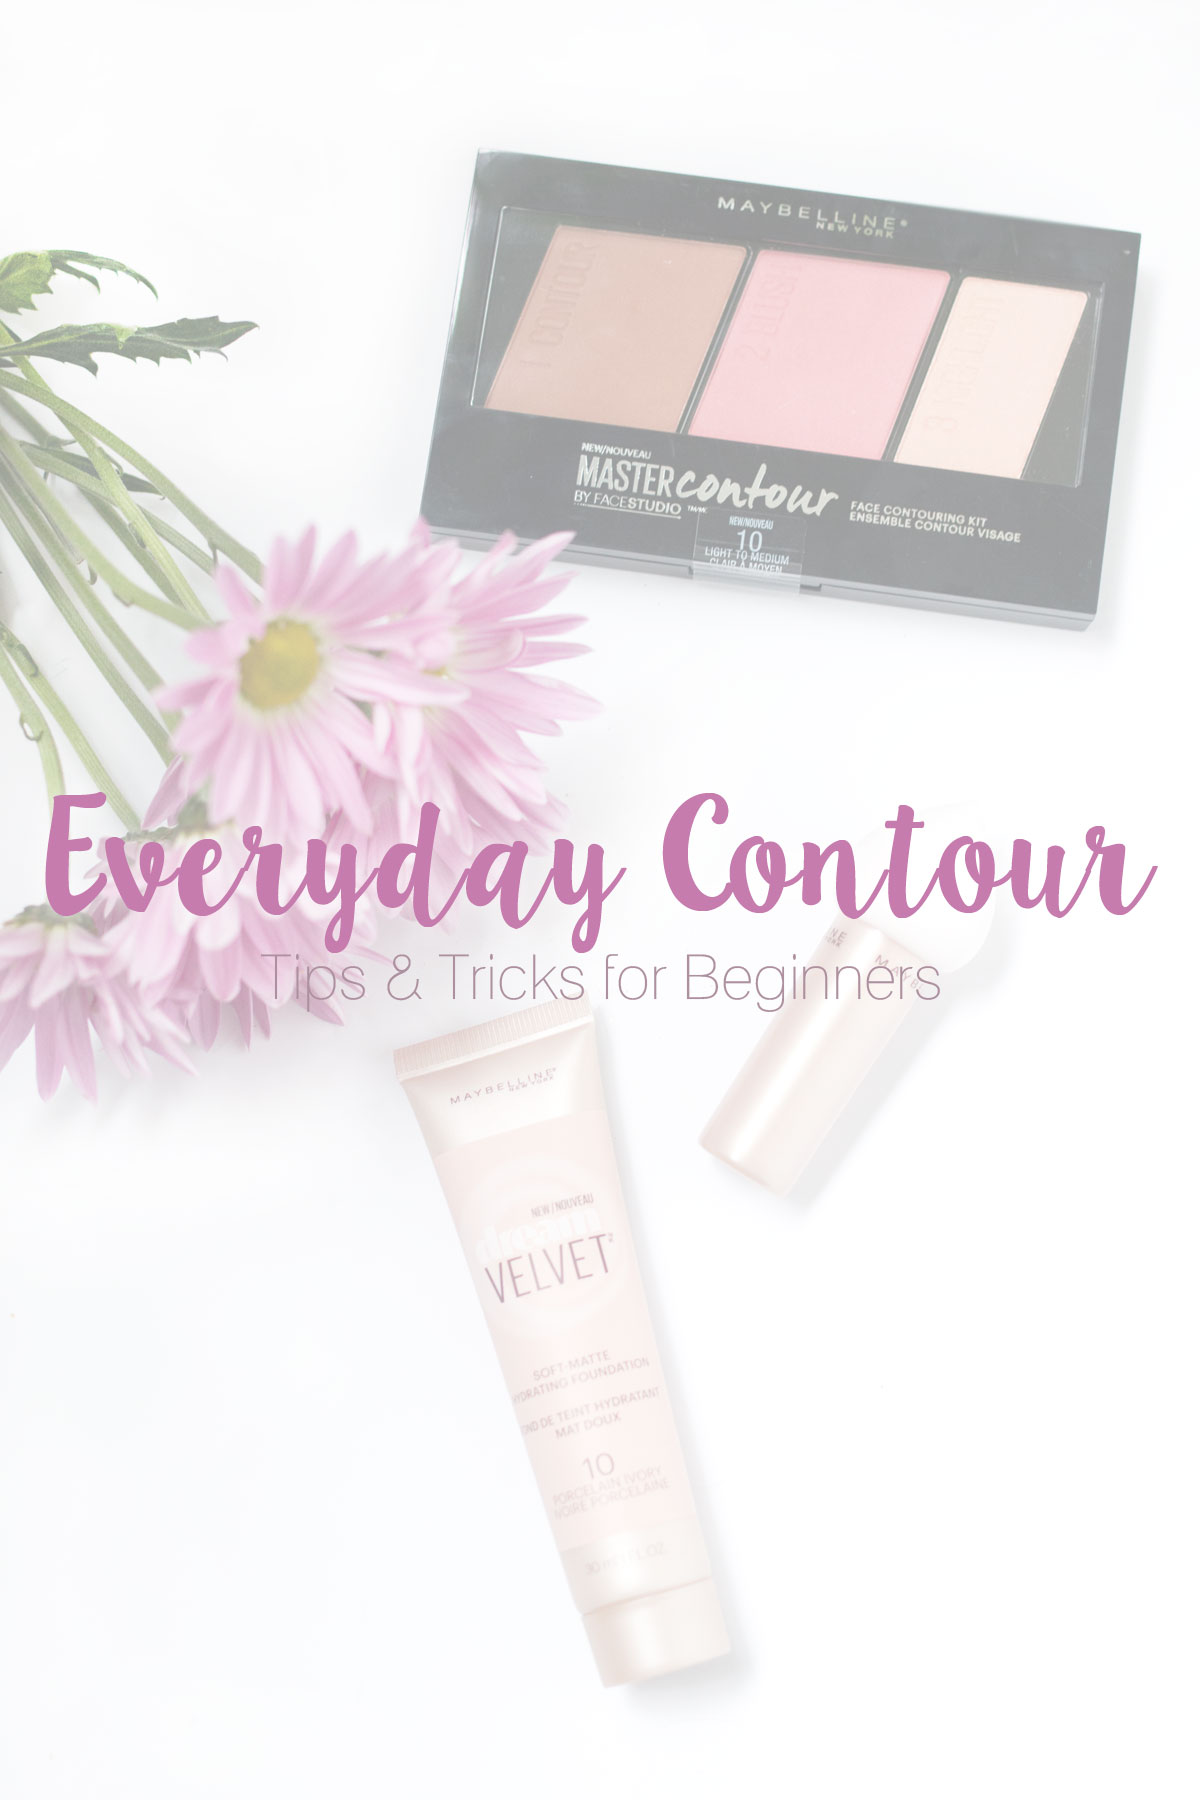
Everyday Contour Tutorial
First up, let’s dive into getting that skin looking prepped and polished. I used a daily moisturizer and then patted a little primer in my t-zone. I have some larger pores in this area that I like to make sure are all covered up.
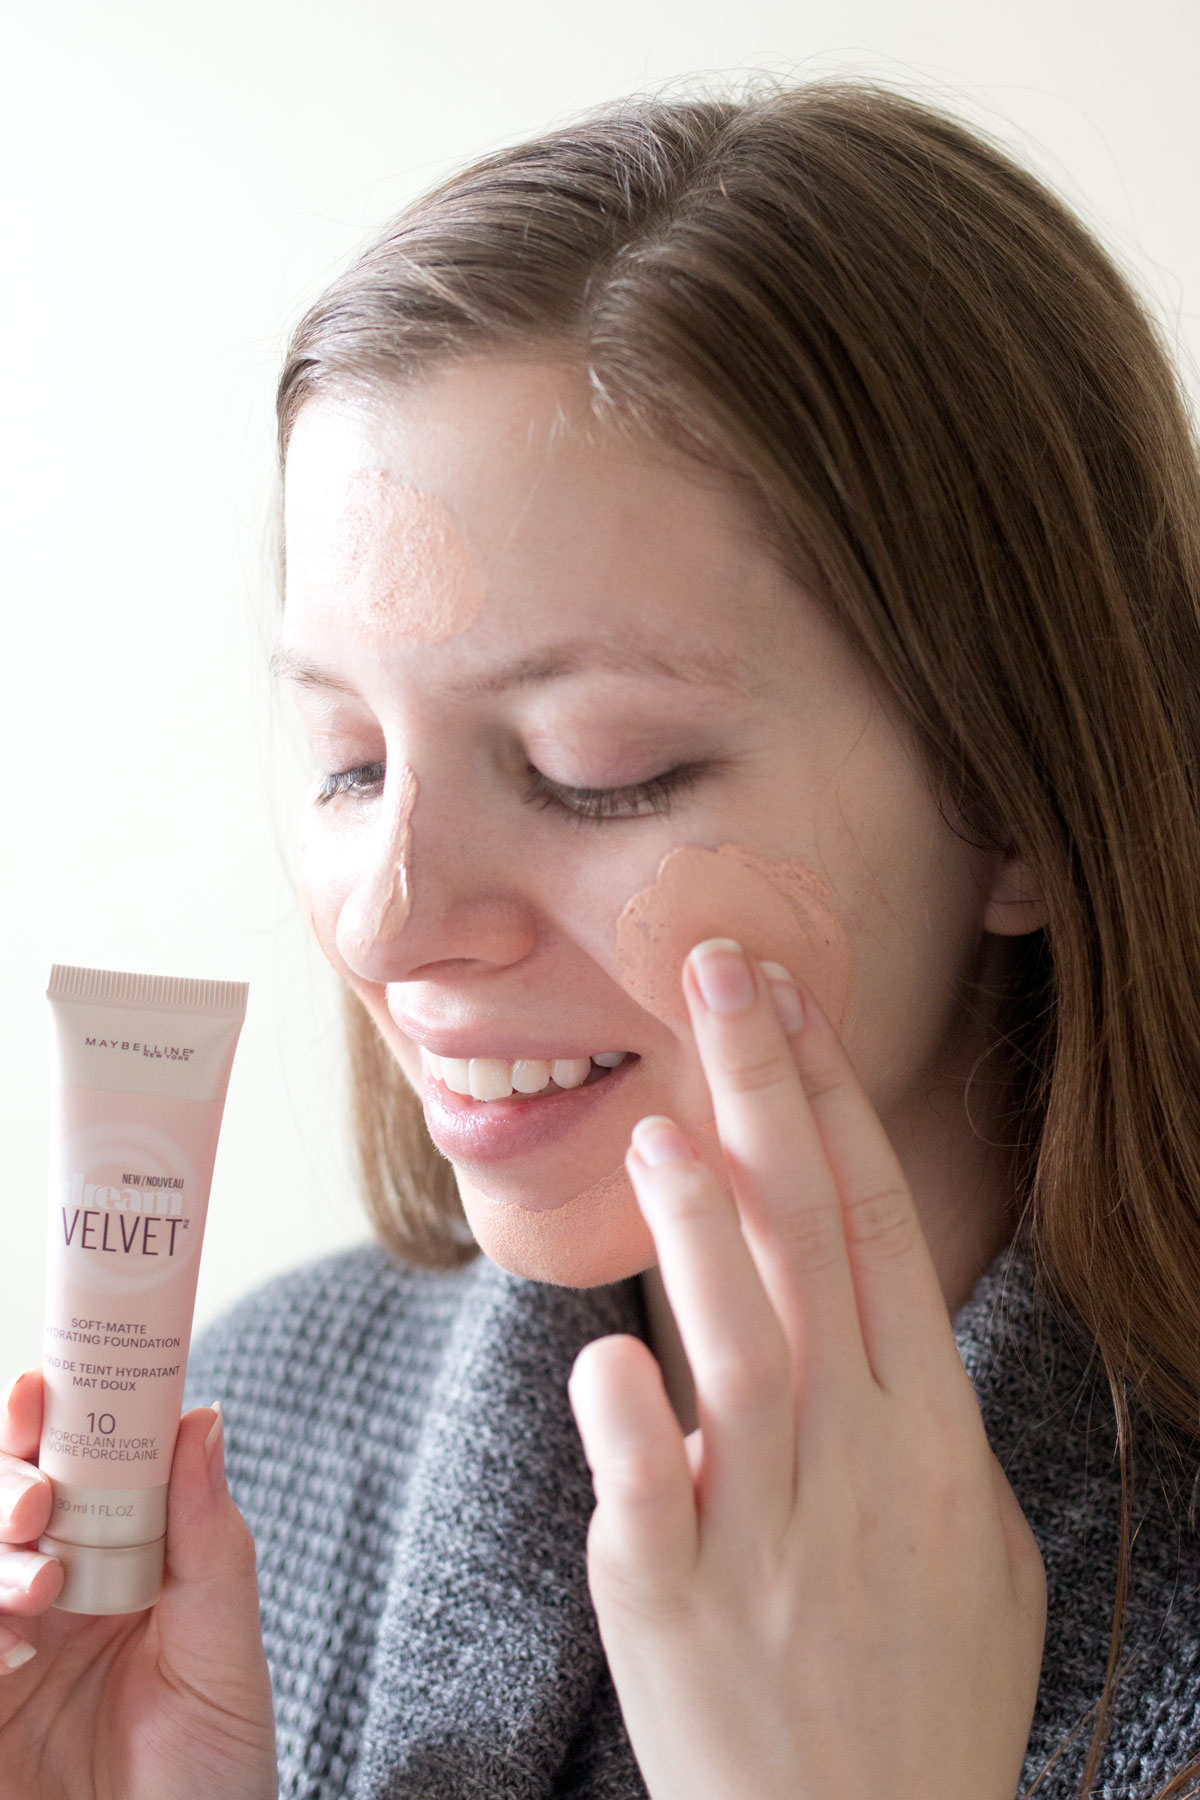
After that’s done, I’m dabbing the Maybelline Dream Velvet Foundation directly onto my face in a few key areas – my cheeks, nose, forehead, and chin.
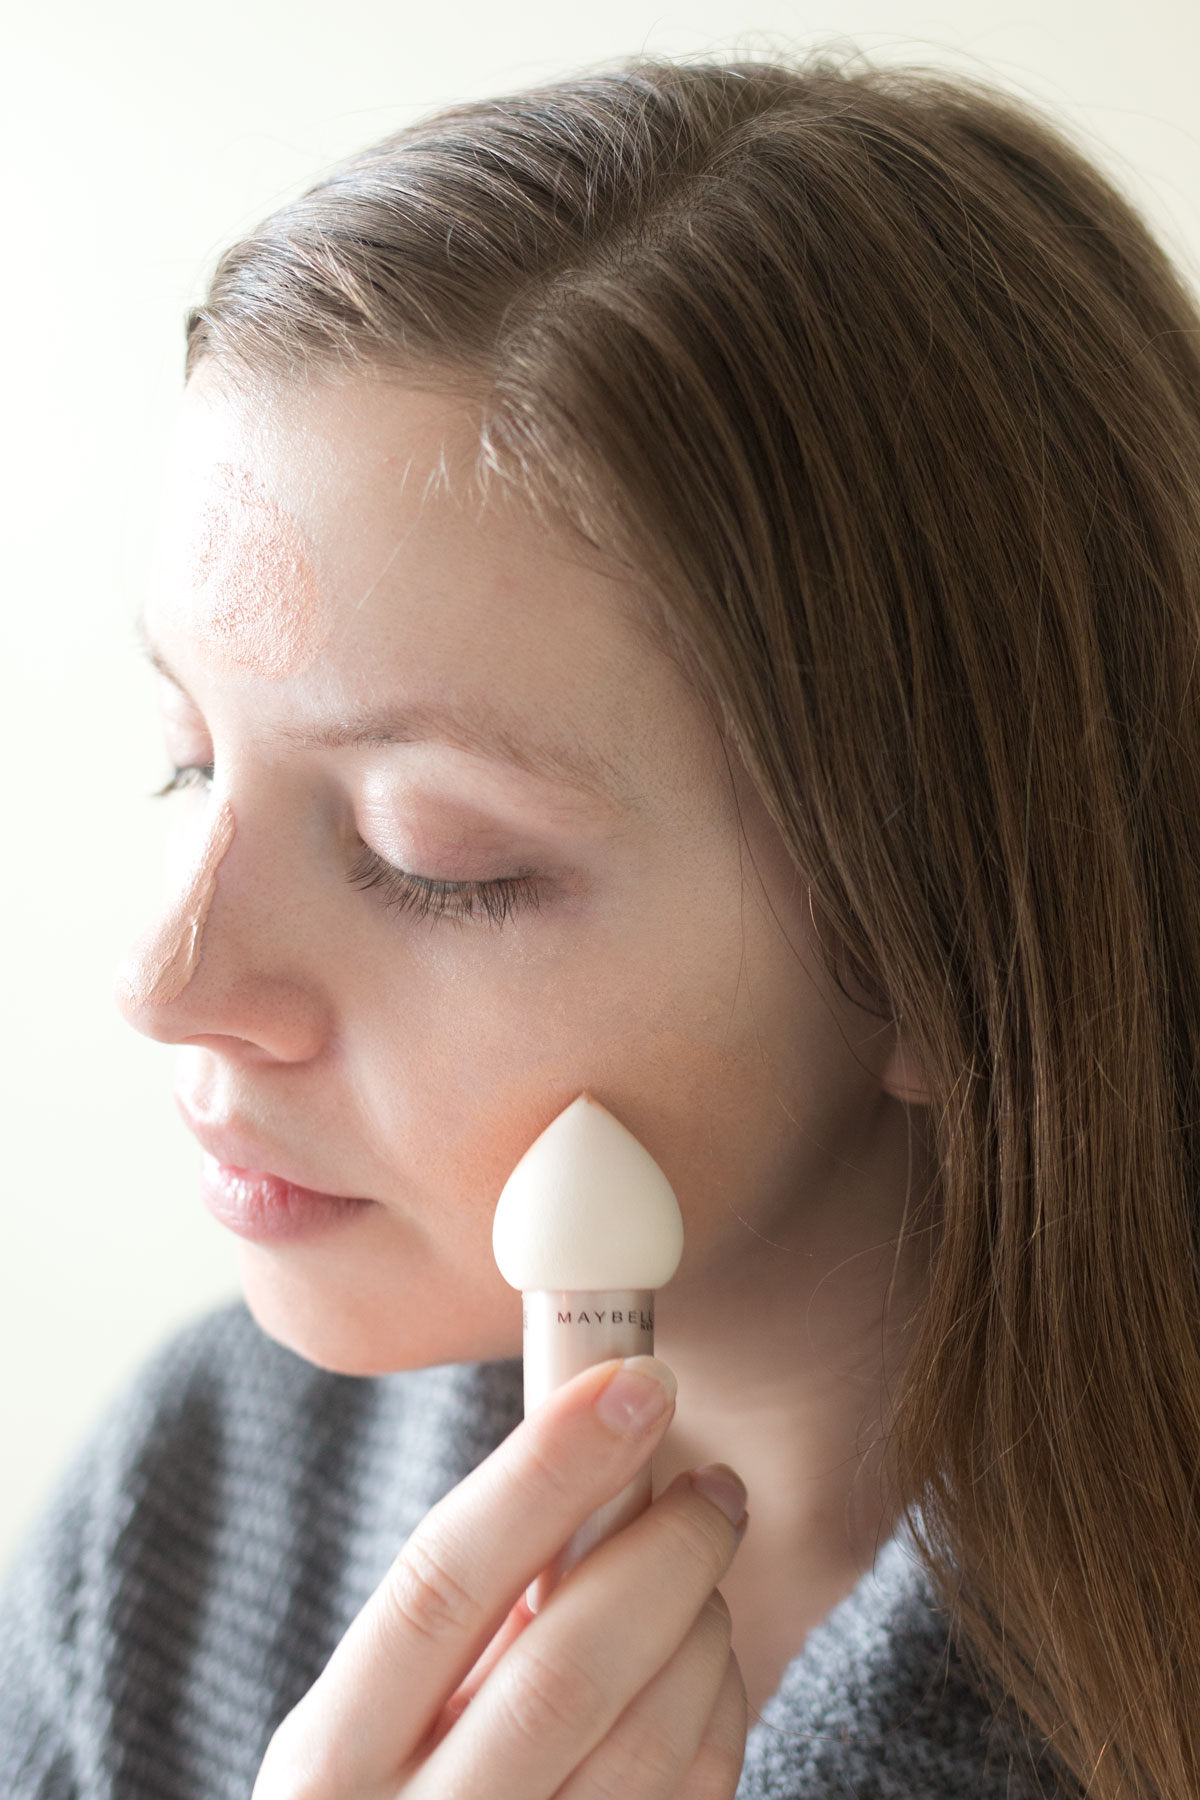
Next, I grabbed the new Maybelline Dream Blender tool and used this to blend out the foundation. Just like other beauty sponges, I found this one works best when dampened. (Just be sure to squeeze any excess water out!) The shape of this especially works well around the eyes and came in handy when I applied my undereye concealer.
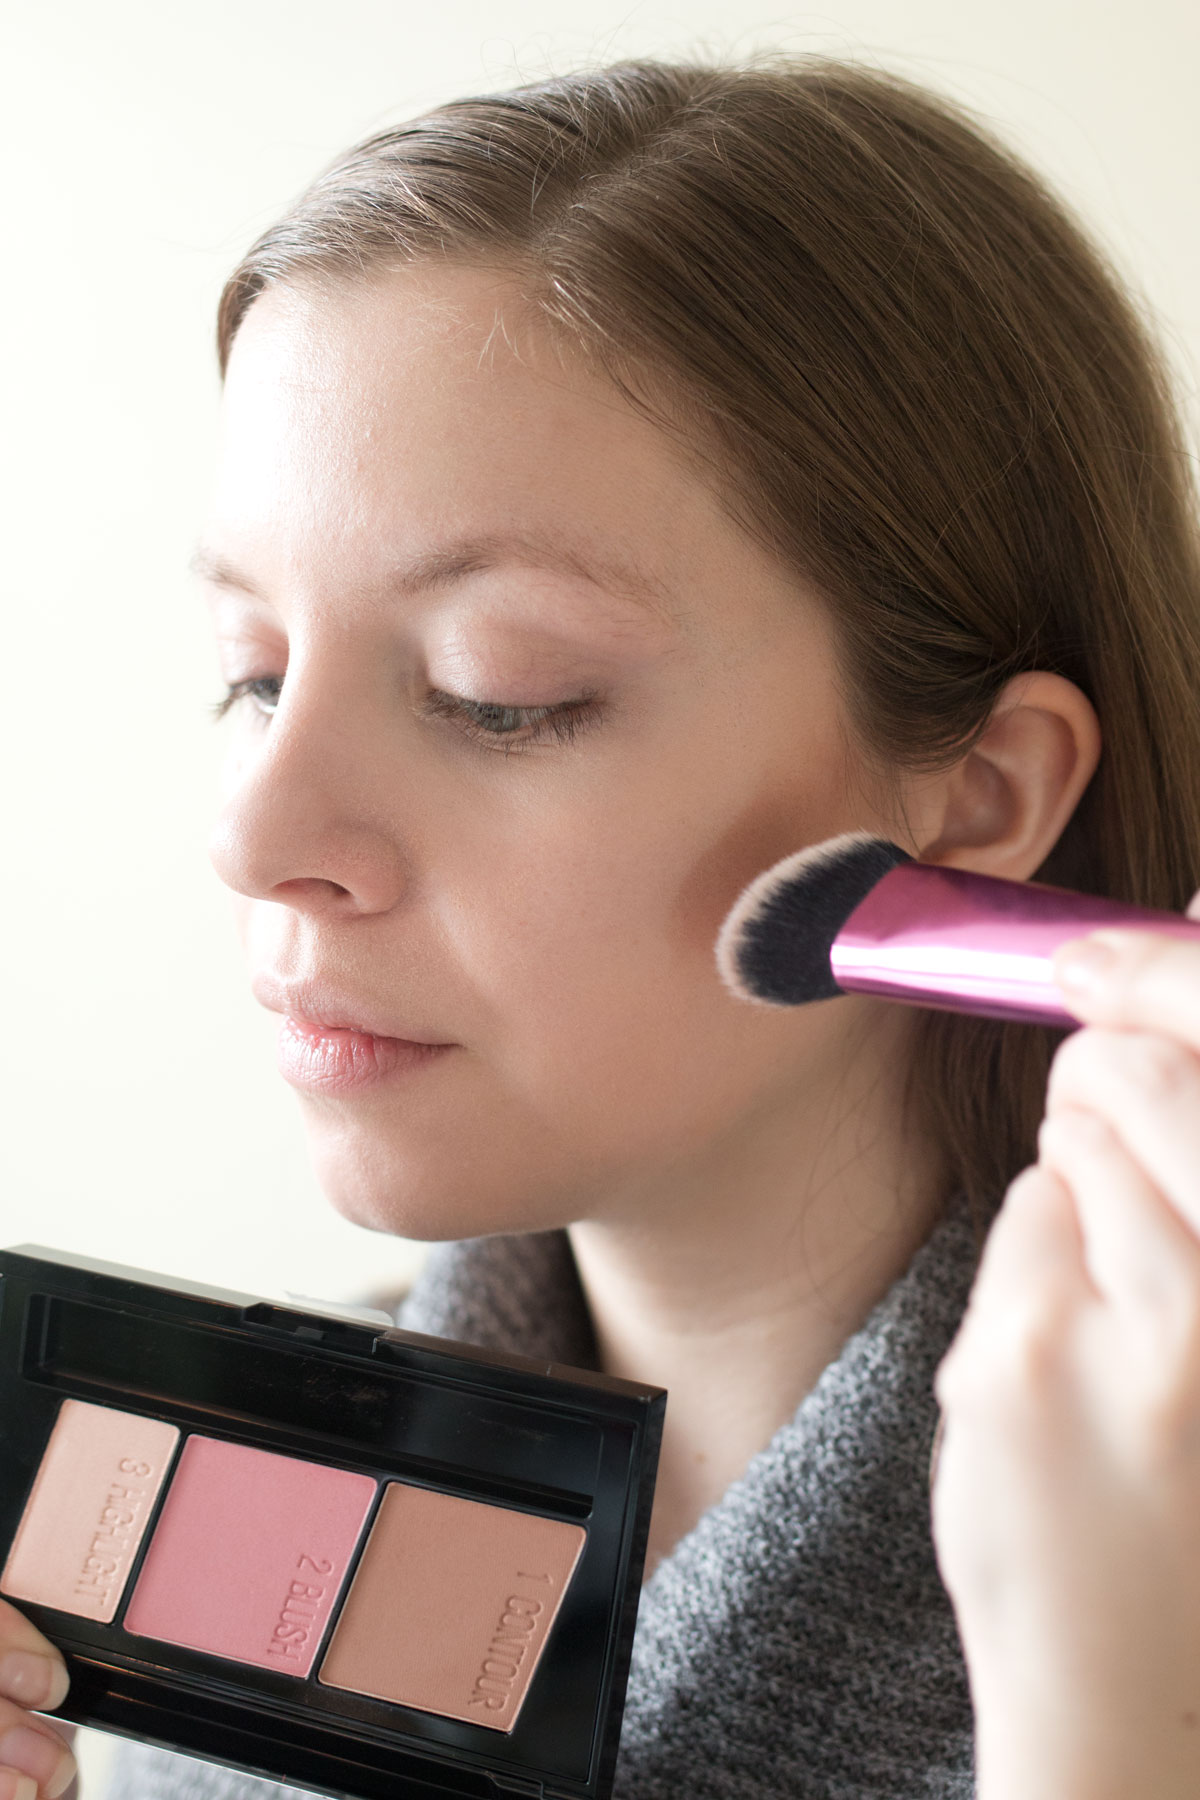
After you’ve prepped your foundation layer, it’s time to get busy with the contour! I promise this is easier than it seems. With an angled brush, make a line from the top of your ear to about mid-cheek. Then gently move your brush back and forth on this same angled line to buff it into the skin.
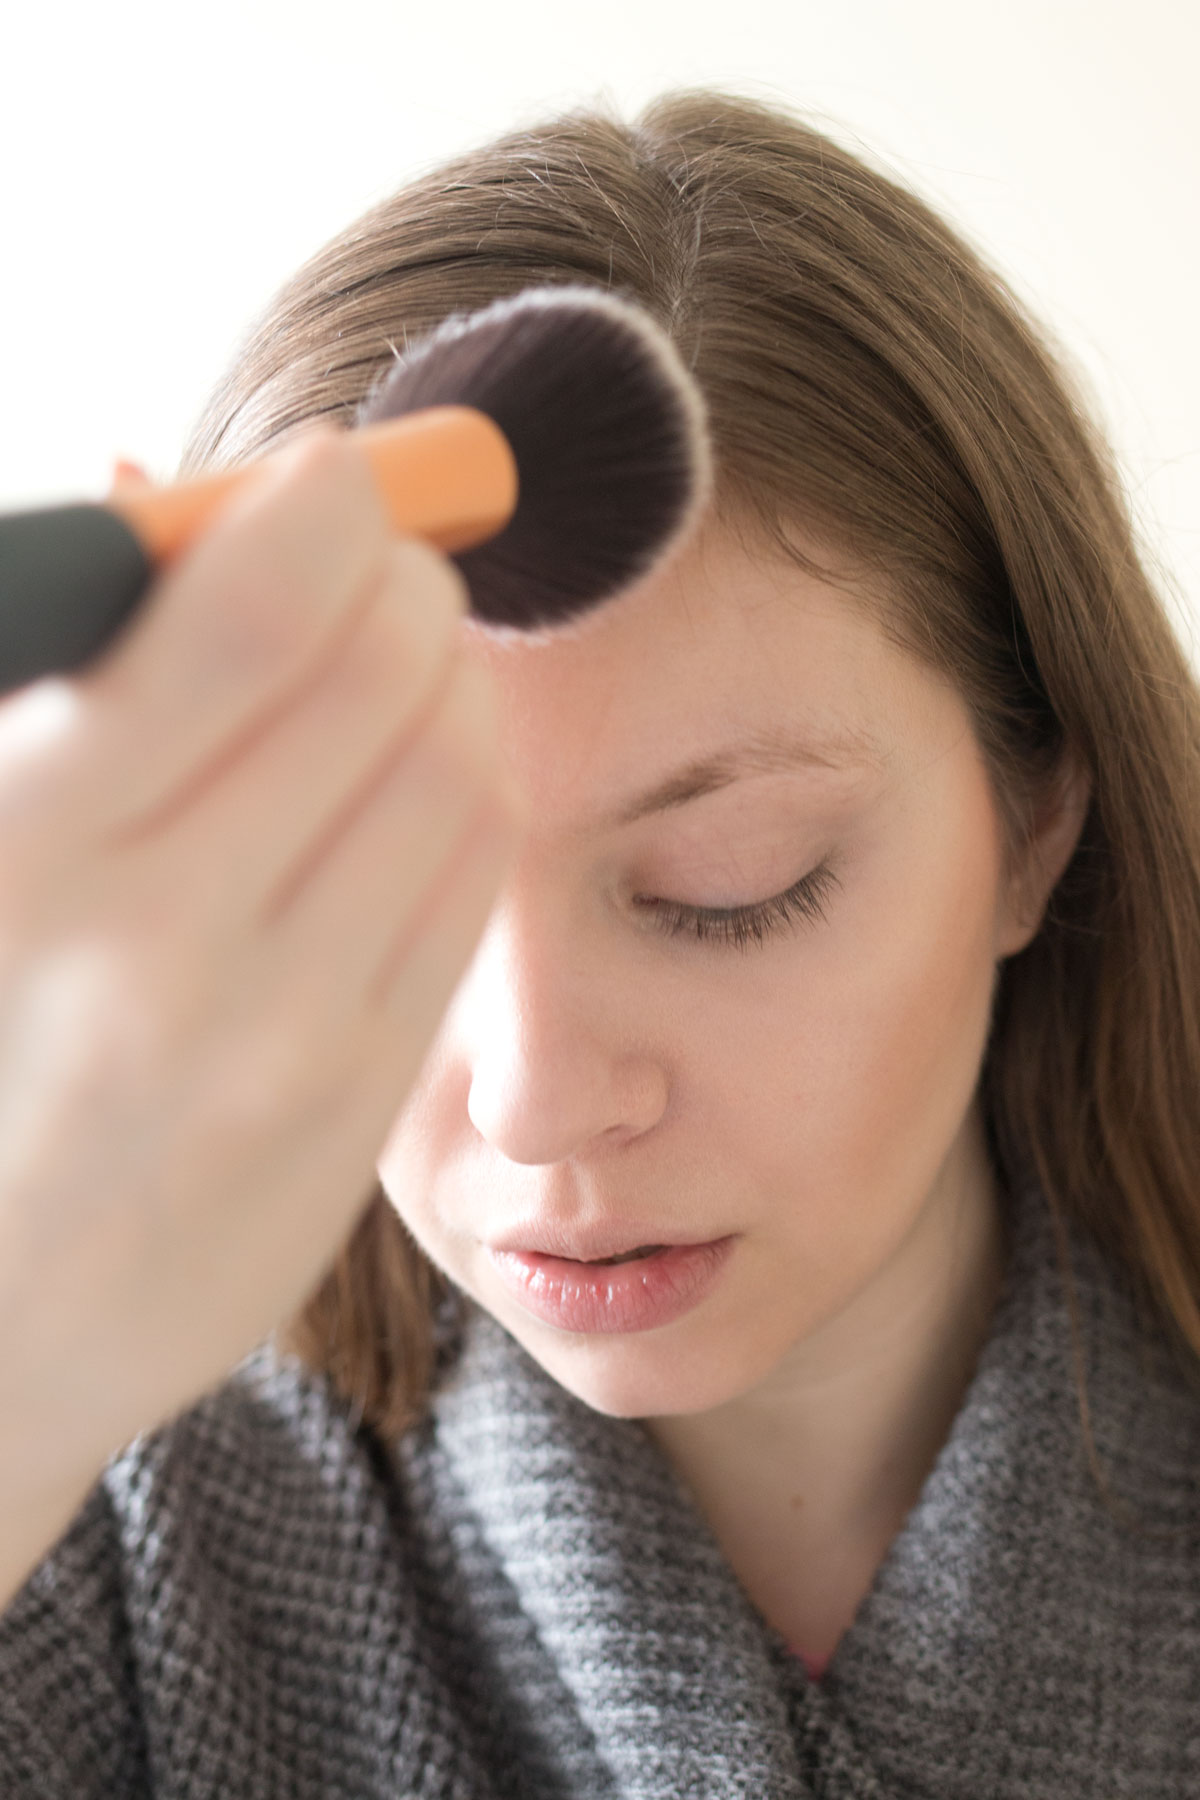
Unlike a bronzer, your contour should only be deepening areas of your face that naturally are shadowed – cheekbones, around the hairline, and temples. With a light hand, pat a powder brush into the contour shade and run this along the hairline, then down to your temples. I can find this area can get over powdered quick, so I prefer to keep my hand very light and use a fluffy brush so I can buff it out easily.
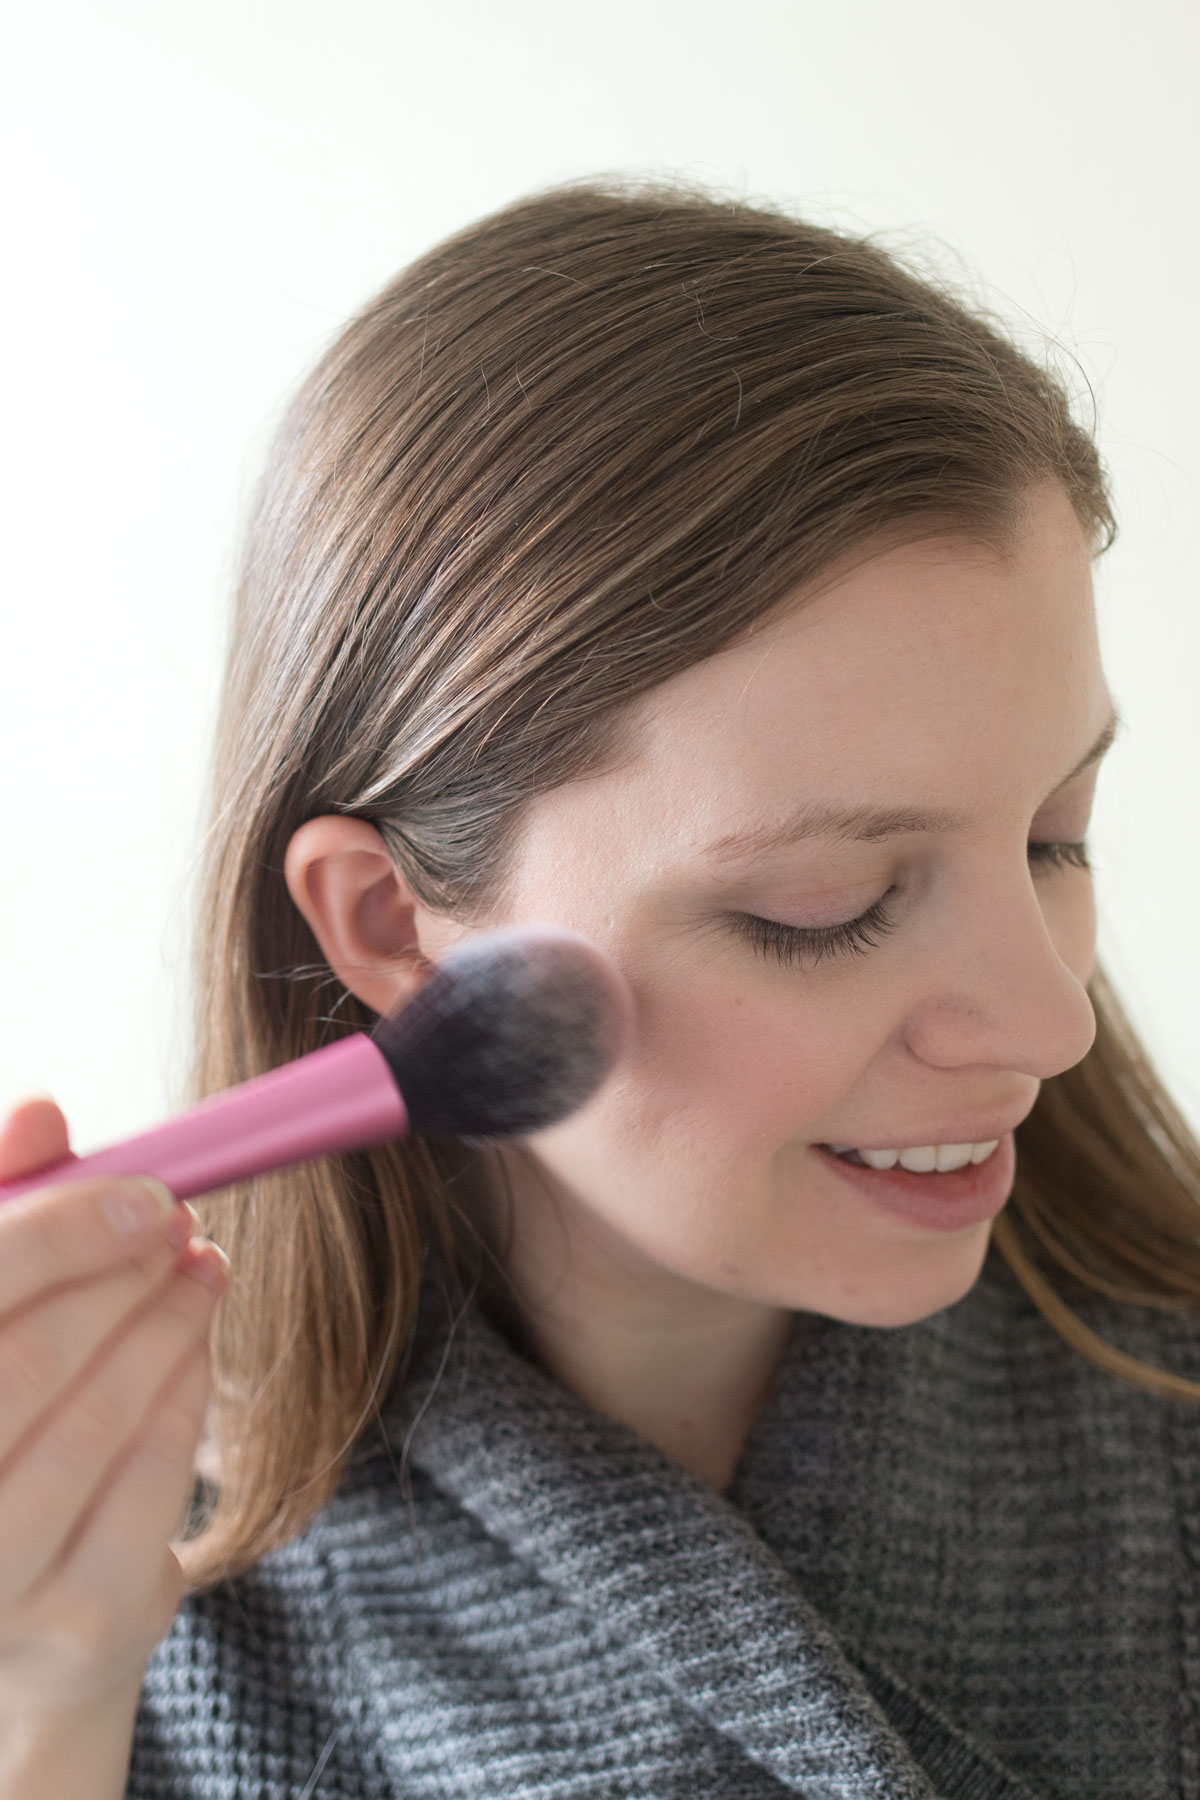
To the apples of your cheeks, place some of the blush from the palette. I love this rosy shade that looks perfect with nearly every makeup look!
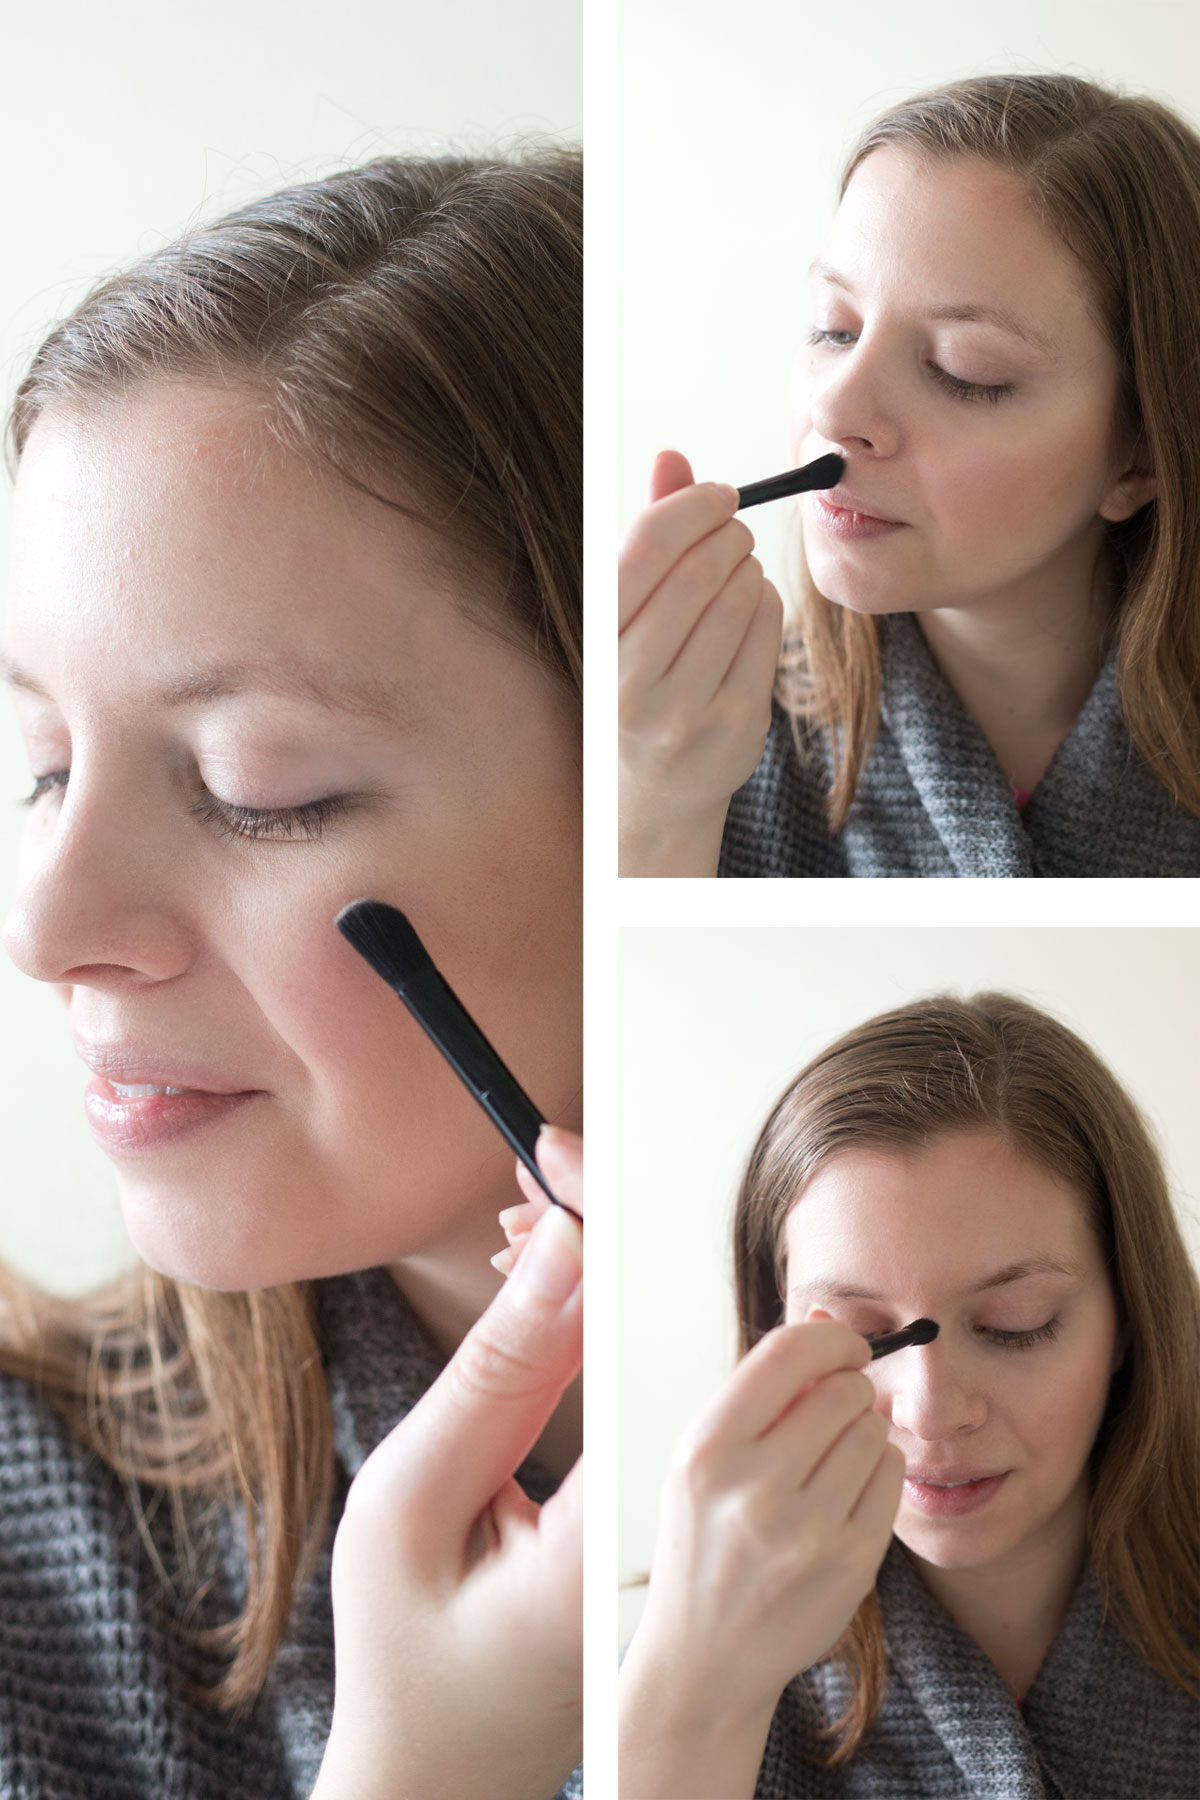
Finally, we’re going to finish off our contouring with a little highlight. The goal of highlighting is to bring light to the high points of your face – the top of your cheeks, the bridge of the nose, the cupids bow, and the chin, if you’d like. I do the first three, and occasionally add whatever’s highlight powder is left on my brush to hit the chin and the center of my forehead. I like to use a small brush for this, and the brush in the palette works well for that!
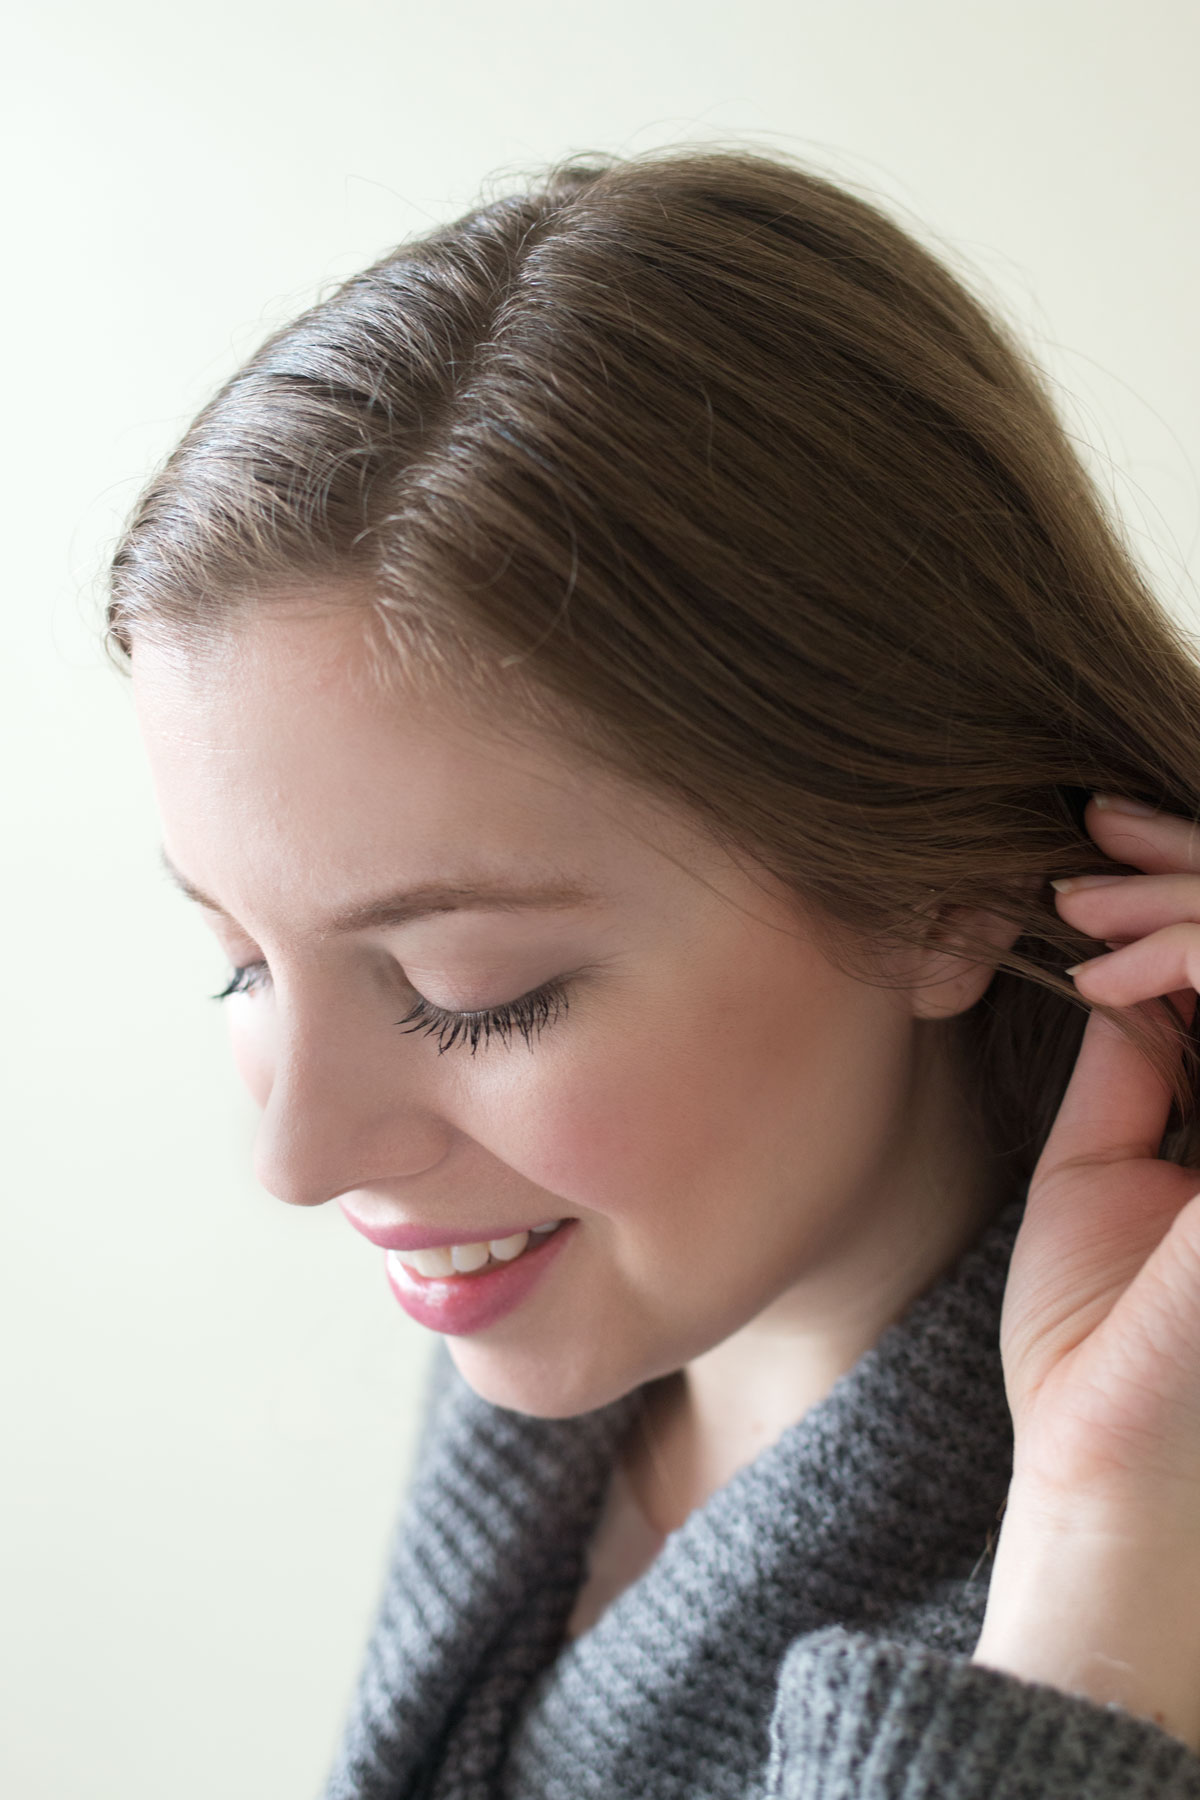
The last thing I always do is take a peek in natural light to make sure I didn’t forget to blend anything out, don’t have any harsh lines, and look natural. I usually will blend my contour and blush a bit with a big fluffy powder brush, then blend a bit more along the temples and hairline.
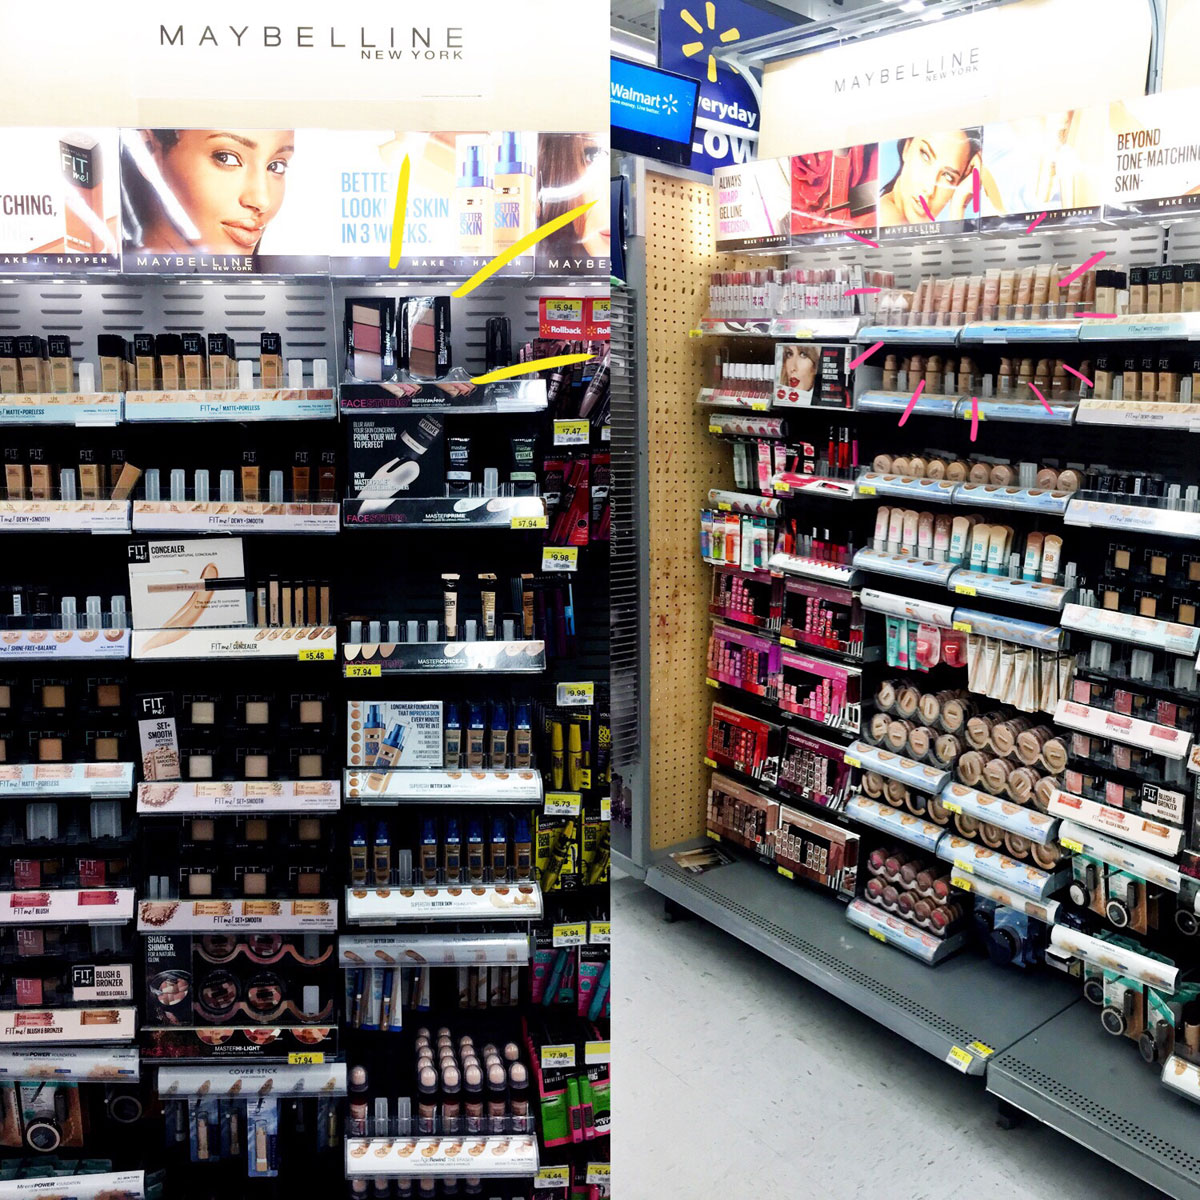
Best of all, the Maybelline Dream Velvet Foundation, Dream Blender, Master Contour Palette, and all of the other items I used in today’s look can be found at your local Walmart! Next time you’re shopping for groceries or who-knows-what, be sure to pop down the cosmetics aisle and look for their new tower display.You’ll be creating looks you’ll love in no time at all. ;)
Stay tuned for another fun look featuring Maybelline products next week in celebration of Valentine’s Day, which of course will be featuring this contouring tutorial. It wouldn’t be a holiday without a little festive makeup, right?!
Have you tried contouring before? Do you find it to be a challenge or is it old hat? I’d love to hear your tips and tricks in the comments below!


Love this tutorial! I may have to actually try contouring now!
xo Kylie
http://www.dressinsparkles.com
Thanks Kylie! Glad you enjoyed it.
I really need to learn how to contour.
What a great tutorial.
xoxo, Jenny
Thank you so much Jenny!
Everyone and their mother knows I need all the help I can get when it comes to make up so thank you for sharing this!
xoxo
Amy |Pastel N Pink
Ha! You’re so welcome, Amy! Hope it helps :)
I’m not really into makeup so I’ve never tried contouring before. You look great!
http://thealwaysblog.com
Thanks Savannah!
I really want to try contouring but I’m not sure! It looks great on you!
xoxo
Thanks Ashley! I definitely recommend giving it a try. It’s definitely not as scary or difficult as it seems! :)
I just might pick up the Maybelling contour palette when my current one runs out. I saw these at CVS the other night, and it took me a lot of courage and resistance not to buy it because I don’t want to break my three-week-no-shopping streak!
Huhu I meant to say Maybelline, and by the way, loving the blog’s new look! It’s different, but still reminds me of you, Jenn! :)
Aw, thank you so much Jae! :)
Dang, congrats on your no shopping streak! I need some of your will power. Definitely check it out when your current one runs out, it’s impressive for the price!
Great tutorial! I took a contouring class once and learned SO much. It’s easy once you get the hang of it!
Alyssa
Feathers and Stripes
Thanks Alyssa! How cool you took a class on it! I’m sure you learned a ton.
Your skin looks amazing! I keep hearing great things about this foundation and this contour palette!
~Sara
Thanks so much Sara! The foundation really gives a nice finish and photographs really well. :)
Great tutorial, your skin looks amazing!
Thanks so much Christine!
That dream blender looks awesome! I’m so glad I saw this because I have been trying to learn how to contour :)
So glad it was helpful, Alex!
fabulous tutorial! not gonna lie, i have watched a million and one videos and read tutorials, and i still feel like i look like someone who put too much self tanner on, haha. i really want to conquer it so i might have to check this palette out!
Thanks so much Kristen! I’ve watched a lot too! I think having a light hand is always best unless you’re going to be on camera. It always looks SO much different in real life than it does on film or in photography. Hope you liked the palette if you ended up checking it out! The blush and highlight poweders are beautiful too.
I’ve been wondering how to contour so this step by step is super helpful.
So glad to hear that, Elana!
Beautiful contour! I love that each product is affordable and easily available at drug stores. Xoxo Mindy
Thanks so much Mindy! Agreed, love the price point and great results!
I contour everyday- such an essential part of my makeup routine! Fun to learn a little bit more about your routine too!
xoxo A
http://www.southernbelleintraining.com
Thanks so much Annaliese!
I am such a contouring rookie! I need to try this one day. I definitely need a tutorial!
Hope this helps, Bella!
I recently discovered the PUR Cosmetics Contour Stick and have since been obsessed with contouring! Have you heard of the brand? It’s one of my new favorites.
I’ll admit, I used to think, “Contouring? Ain’t nobody got time for that!” Ironically, I am now one of those women who does it every day for work….
XO, Oksana from FOXYOXIE.com
Yes, I actually did a tutorial using the Pur Cosmetics Contour Sticks last month! :) I like them too, and I’ve definitely started incorporating more contouring because it is simple with all of these new options!
Oh wow this is a great tutorial! I’ve been wanting to try contouring, but have been too lazy to actually buy a set. You did a great job!
Thanks so much Cat!
Love this tutorial– you make it look so easy! I’m a little afraid to give contouring a try, but this makeup makes it look pretty simple!
Thanks Alyssa! It’s definitely not as difficult as it seems, just start with a light hand if you’re nervous!
You look amazing! I want to learn how to contour and this is so helpful.
LiveLifeWell,
Allison
Thanks so much Allison!
Love this! Great contour for beginners, and super affordable!
Thanks Alexandra!
Went out and bought this kit! Love that the bronzer is great for my pale skin. The blush and highlighter are also great colors. Thanks for the tutorial and recommendation. can’t wait to start contouring.
Awesome! I love the kit – glad you do too! Hope you have fun contouring. :)
Love! My sisters both have contour kits, but I haven’t really figured out how to use them yet!
Hope this tutorial helps out a little then, Allison! Have fun contouring :)