I’m not sure if I’ve ever shared this before, but I have a pretty extensive crafting history. I think it is what led me to want to be a fashion designer at one point in my young adulthood. And my addiction to clothing definitely helped things too. Luckily, in my teens, I discovered the magic of the thrift store finds and ways to repurpose those finds.
Let’s throw it back though to the good old days of my youth. The first “craft” I learned was sewing, which j can thank my mom for. She quilted for years before I was born, and continued quilting throughout my childhood. I even won a blue ribbon at the state fair for one of my quilts! (#NerdAlert ;) ) I then used crafting to make money in my tween years. I made jewelry and beaded crafts and sold them at various craft shows and bazaars. (Do they still have these anymore?!)
Finally, in my teens, one of my favorite ways to spend a weekend was going thrifting for clothes, bringing them home, and reimagine them into an entirely new garment. I would convert men’s t-shirts to dresses with my own custom graphics. I took ugly tote bags and covered them up with fabric and stenciled whatever I wanted on top. I would cut off the tops of t-shirts to make them off the shoulder or add a completely different fabric up the sides for contrast. You name it; I probably tried it.
It’s been a long time since I have done any of these kinds of projects, so I thought it was about time I tried it again to see if I still could. Well, I did and I can. So I thought I’d share my three easy DIY hacks so you too can refashion your thrift store finds into something totally your own!
3 DIY Hacks to Make Thrift Store Finds Your Own
1. DIY Graphic T-Shirt
Have some paper, a printer, acrylic paint, a sponge, and a plan t-shirt? Perfect, then you have the ingredients to create your own DIY Graphic T-shirt!
First, figure out what kind of graphic you’d like to create. Use Google Images to find something you like. (Please be considerate and don’t use someone else’s artwork. I usually shoot to find vector graphics that are available for free for non-commercial use.) Once you have found something you like, open it in your favorite graphics program and make it as large or small as you’d like. I chose a lip shape and made it 7 inches x 5 inches. Then, print it out. Regular paper will do, but if you have card stock that’s event better.
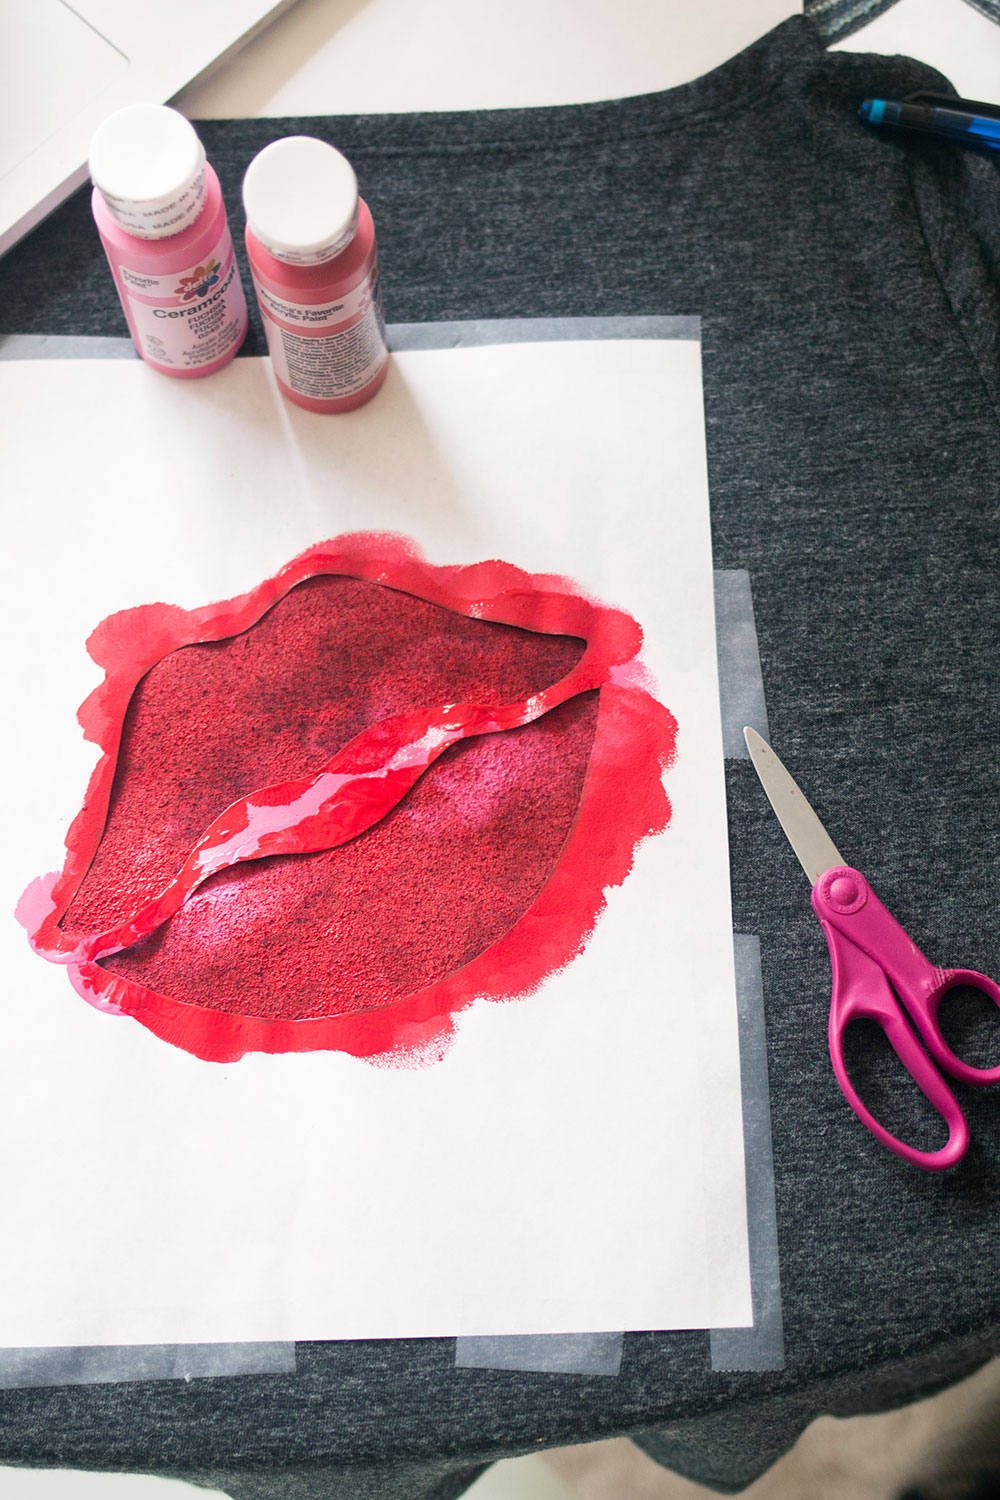
Once you have your printed graphic, cut out the black spaces to create your stencil. Then, tape it to the front of your t-shirt or whatever item you will be stenciling on. Place another piece of thick paper, like cardboard or cardstock, in between the layers of your t-shirt to prevent the paint from bleeding through.
Mix your paint together (if you’re blending colors) then with your sponge, gently dot the color into the blank spaces of your stencil. I did about two layers of paint on my dark t-shirt, but you may need more or less depending on your paint and colors.
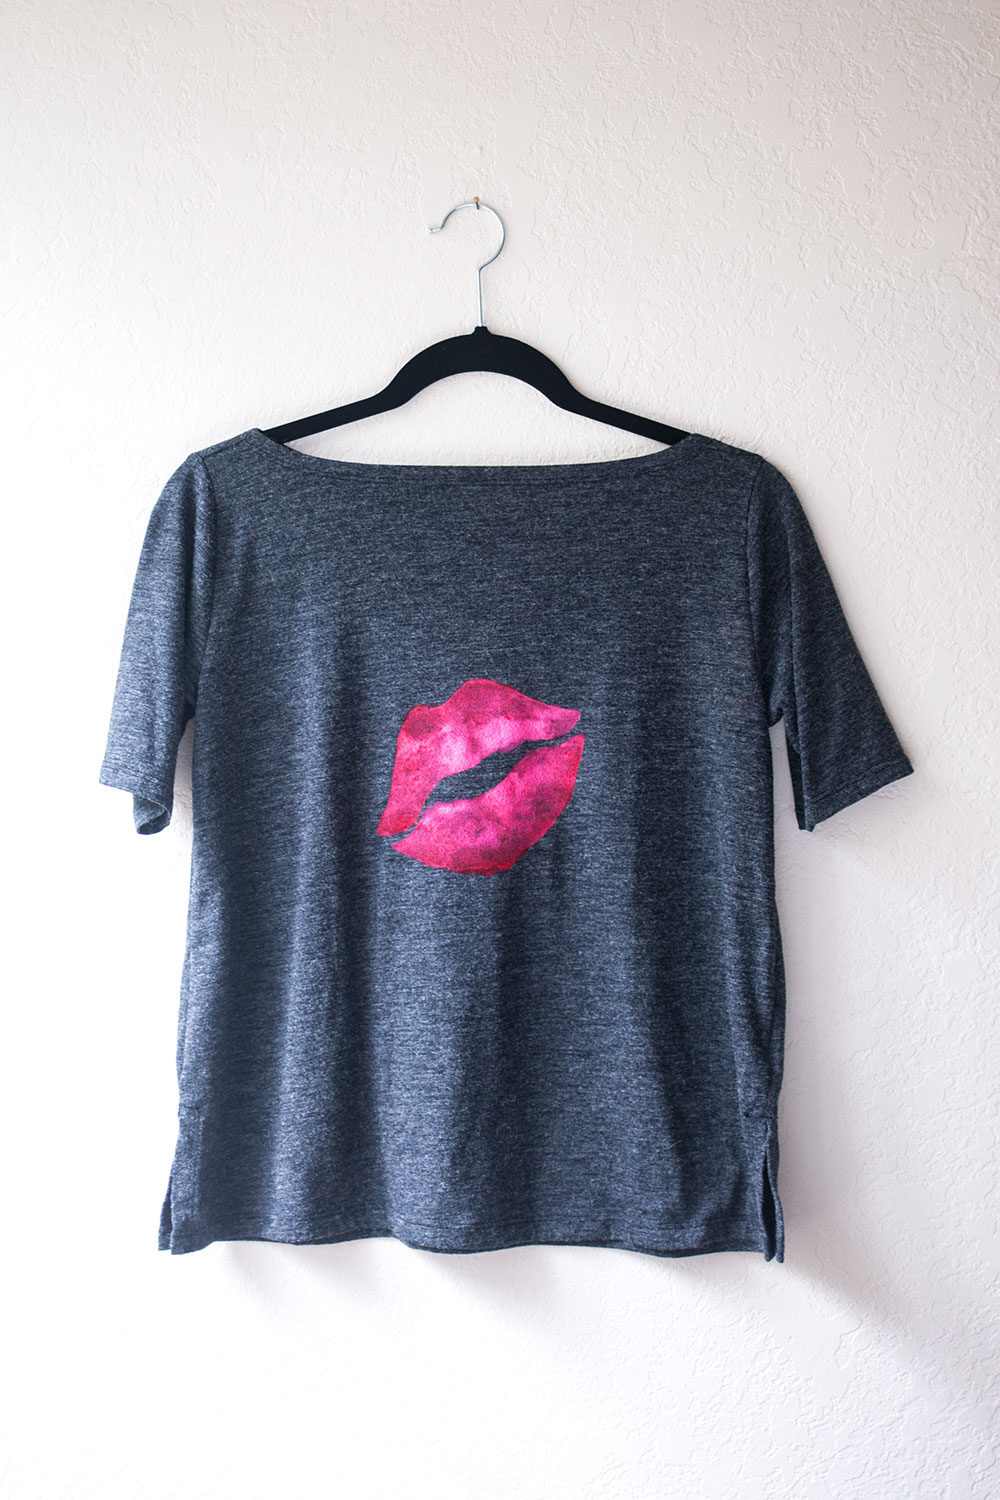
Once all painted, remove the tape and stencil from your garment. Let air dry, or you can use a blow dryer to speed up the process. If you had any paint bleed at the edge of your stencil, you could use a small sponge or paint brush to clean it up.
To set the design, cover with wax paper, then iron on medium heat for about 30-60 seconds, moving the iron back and forth over the design. You can wash and dry the garment as normal, just be sure to turn it inside out to prevent wear to the design.
2. DIY Fringe Jeans
Note: If you’re using an expensive pair of jeans for this and you’re new to DIY I recommend practicing on a throwaway pair first.
For this project, you will need a seam ripper, a pair of scissors, and a pair of jeans. First, try on your jeans and decide if the pants are the length you’d like, and where you would like the fringe to start. I opted to cut a few inches off the bottom to ensure the fringe wouldn’t drag on the ground. I then cut a slit up the side of the bottoms of both sides of each leg to where I wanted the fringe to start, about 5 inches.
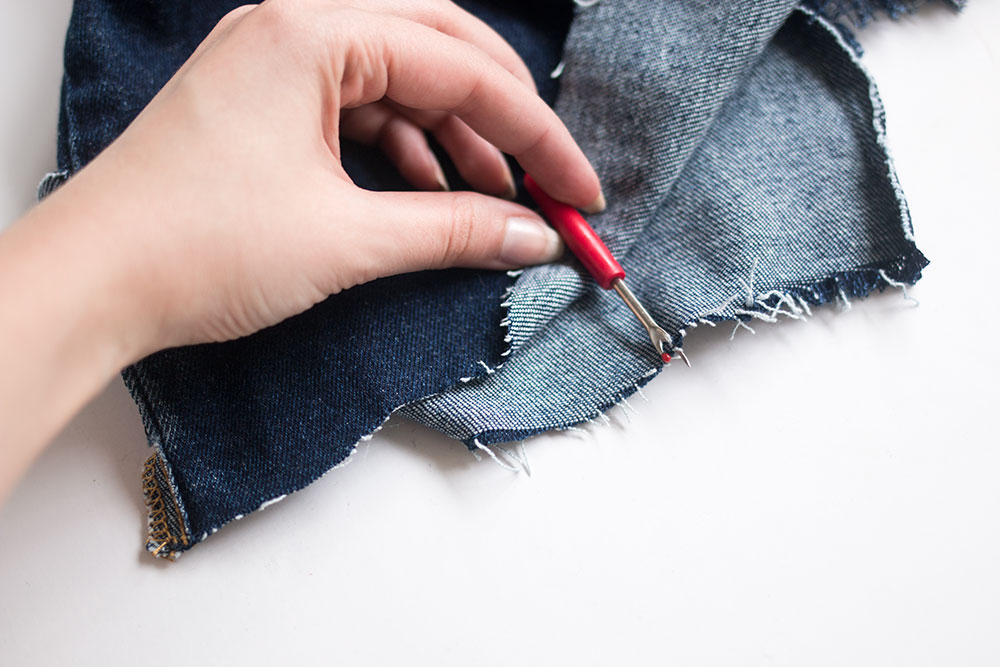
Then, starting at the rough end that I just cut, I grabbed the white thread of the jean material with the seam ripper and pulled upwards, from left to right, removing the white thread only. This will leave the dark threads as your fringe. (Though you may notice a few white threads here and there as well. If you don’t like that look, you can easily clip those white threads.)
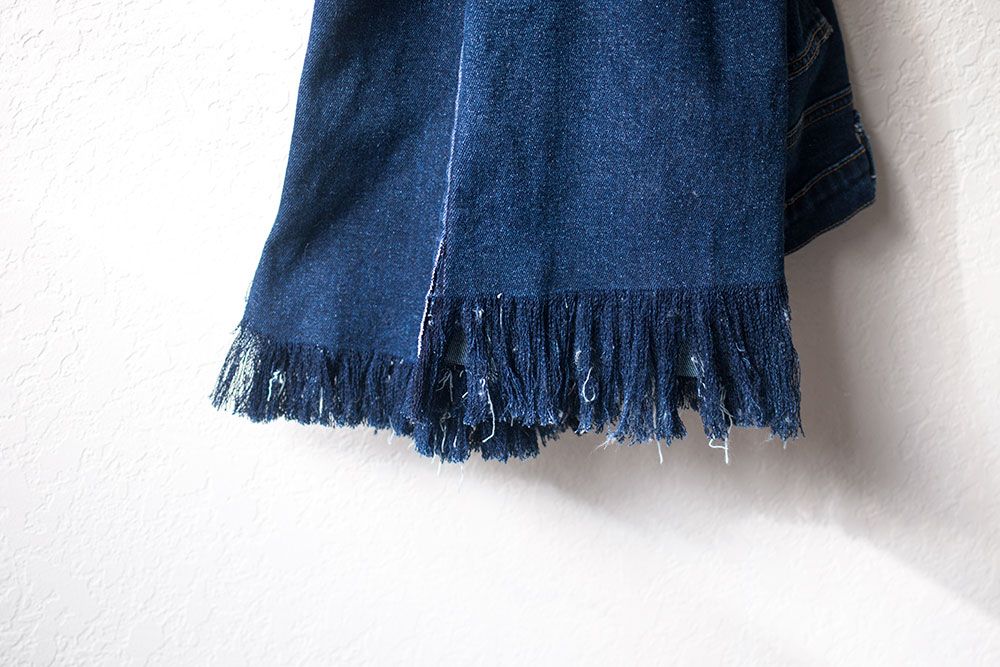
Continue this process of pulling the white threads upwards with the seam ripper until you’ve reached the end of your slit and the fringe is the length that you like. Repeat on each section of your jean bottoms. Warning, this is an intensive process and may take several hours to complete. I recommend binge watching a new show on Netflix to keep you entertained. ;)
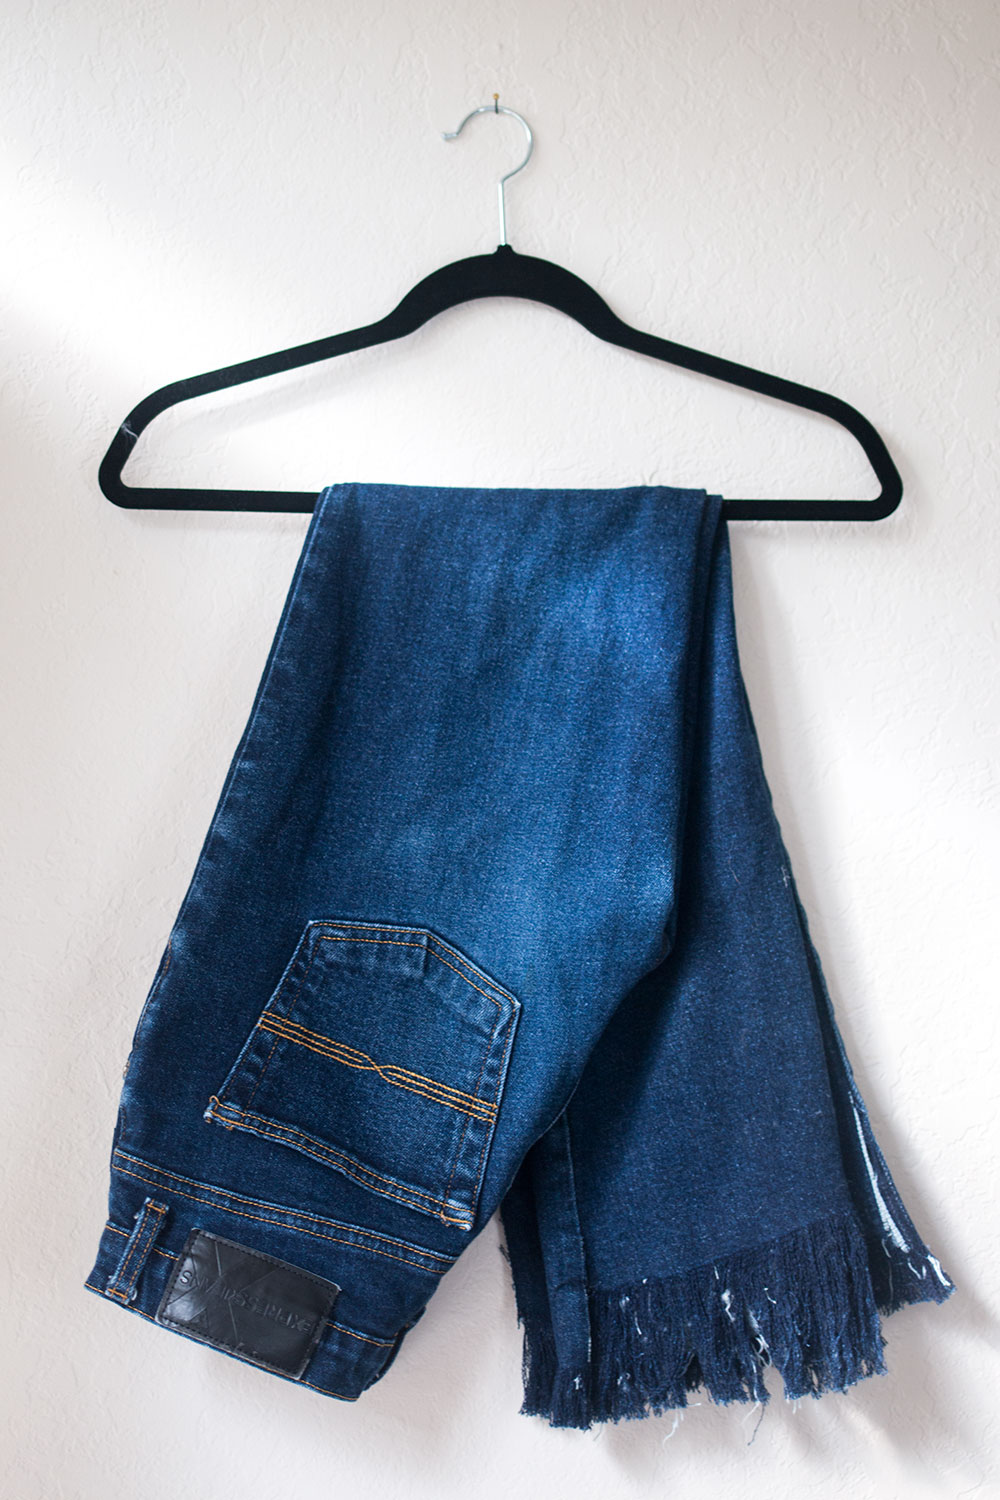
When you’re done, wash your jeans normally. The fringe may clump up in the dryer, and if you don’t like that look, you can run your fingers through it to comb it out.
3. Replace Buttons to Make a Blazer or Coat Your Own
This is the absolute easiest project, and one that I find can make a world of difference in the look of vintage blazers and coats.
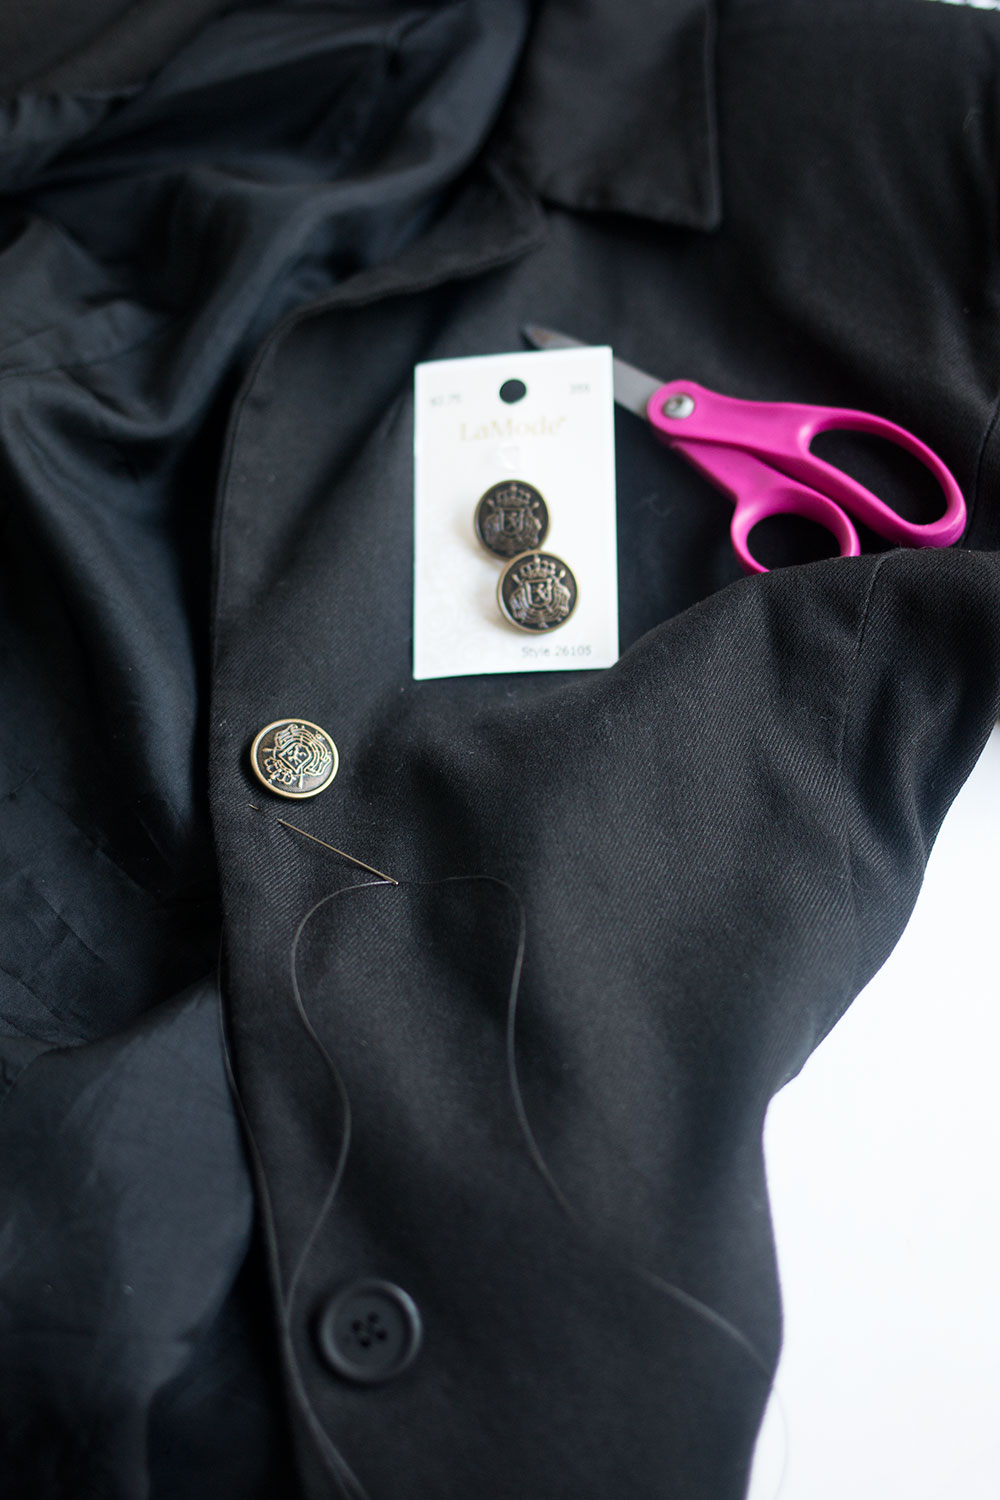
First, remove a button from your jacket and head off to your local craft store. You’re looking for a button that is very close in size to the original (unless you want to see the button hole smaller, or make it larger.)
After finding your new buttons, remove those that remain on the garment by clipping the threads. With a needle and thread hat has been knotted and matches the original color or the color of your garment, place a stitch starting from the backside of the garment to the front through one of the holes in the button, or through the hole on the back. Place the button on the needle and thread, ensuring you have the correct placement of the button. (I accidentally placed mine upside down the first time. Oops!)
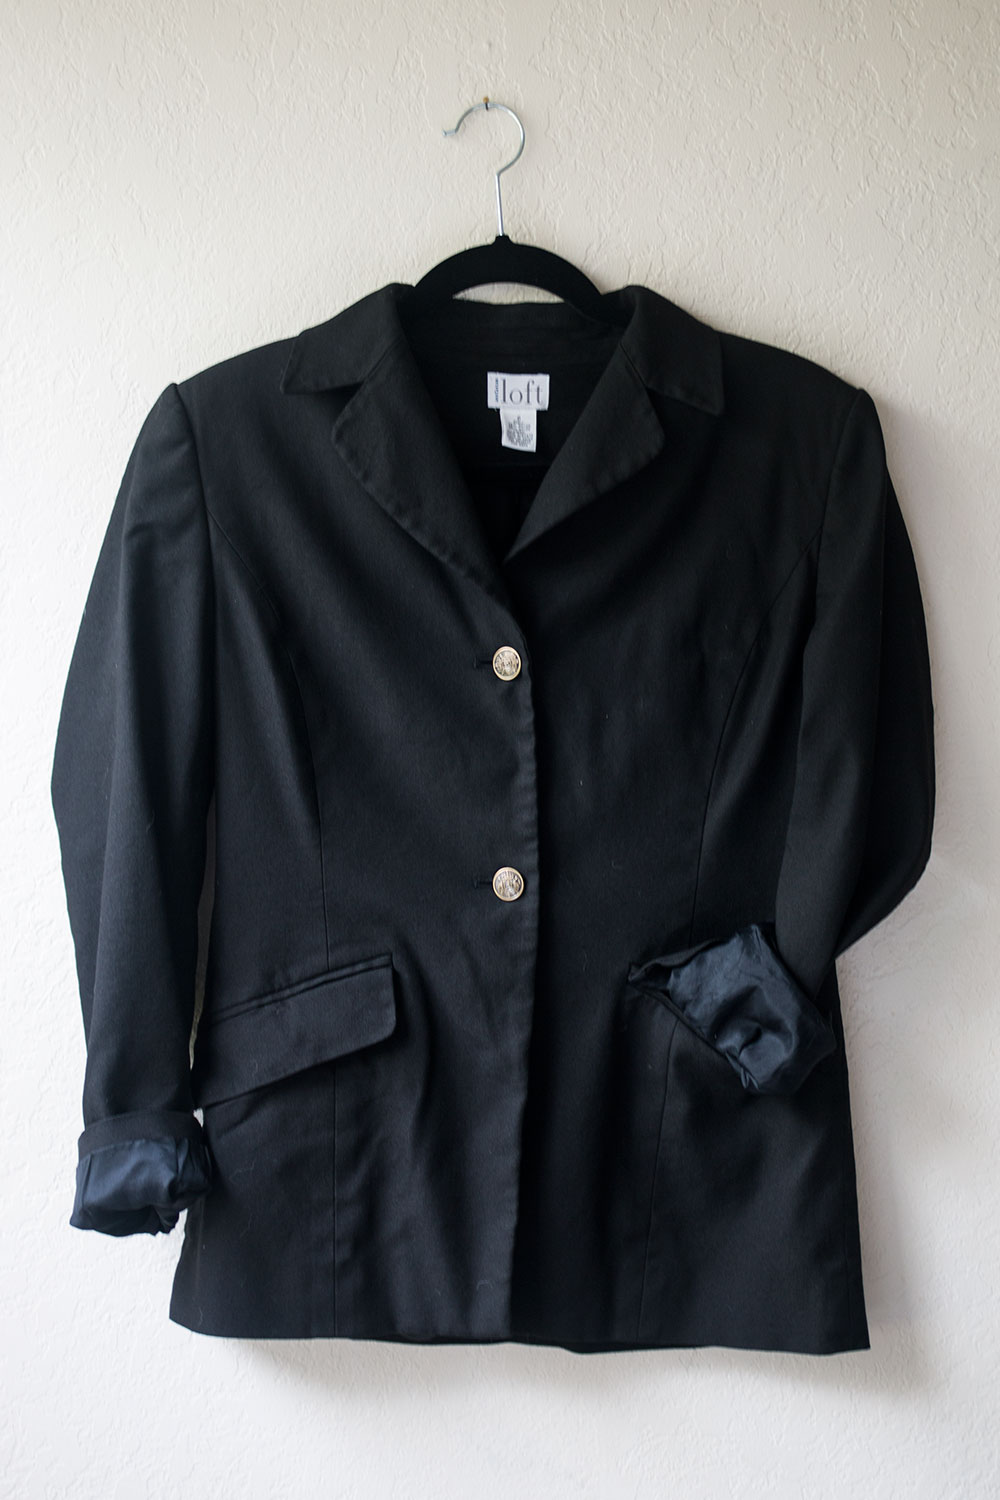
Once the button is placed, run your needle through the second hole of your button, then through the garment and pull it through. Repeat this process, making sure all holes of your button have been secured to the garment at least twice. When you’ve finished, make a small stitch and before pulling it all the way through, loop the thread through, and then repeat. Then, clip the excess thread with a pair of scissors.
Repeat this process for the remaining buttons, and then admire your handiwork!
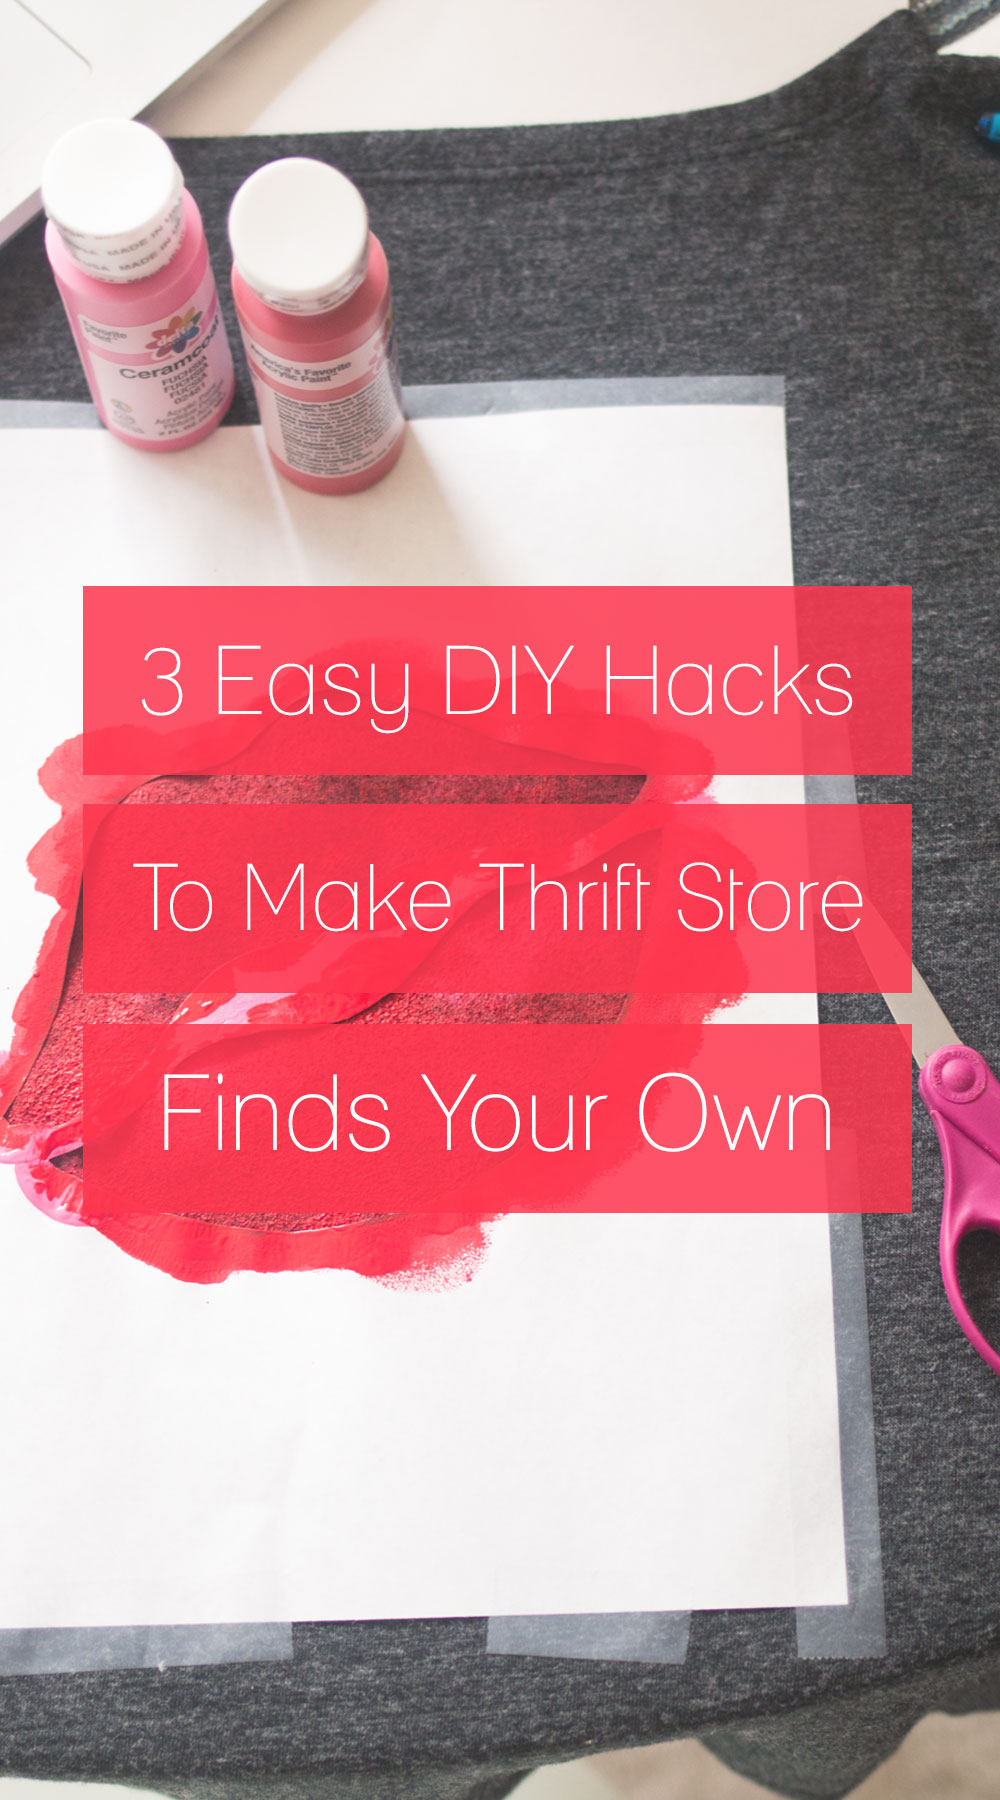
I hope you have fun trying these DIY hacks on your thrift finds, or with items you were considering getting rid of from your closet. The only thing better than donating your clothes is recycling them into something brand new first! If you enjoyed this post, please consider pinning the above graphic so others can try these hacks too! Just roll over the image with your mouse and click on the “Pin” button.
Goodwill Design Challenge 2016 + Giveaway
In the spirit of DIY refashioning, Seattle Goodwill is hosting a fun event called the Goodwill Design Challenge. They’ve invited college students from local schools to shop the store for 20 minutes, then create a design based on their finds. Then, on September 23rd, students will present their final designs to a live audience and a panel of judges to win awards and then move on to the final runway show at this year’s Glitter Gala. (You can see last year’s challenge in the video above!)
Want a chance to check it out? If you haven’t got your tickets yet, Seattle Goodwill was nice enough to offer a pair of tickets to my readers, so be sure to enter to win them in the widget below. The event is September 23rd, 2016 at 7 pm at the Goodwill Outlet on 6th Ave South in Seattle. Hope to see you there!
Have you ever refashioned your clothing into something new? What kind of DIY clothing projects have you attempted, or are considering trying? I’d love to hear about your DIY adventures in the comments below!


These are great hacks! I love going to Goodwill. I found a really cheap, almost brand new, grey blazer there once and even after getting it dry cleaned it was cheaper than buying it in store. I love the idea of swapping out the buttons to make it your own, so simple yet creative.
Thanks Mar! Goodwill is such a great place to shop for that very reason! :)
These are some great tips and ideas for some DIY!! You are so creative!!! ! Now I just need some patience!
Aw thanks Sarah! I know what you mean; I struggle with the patience thing too!
Of course you know I love this! This is my life!
Yes of course!! You’re much better at thrift DIYs than I will ever be but I try. ;)
I’m a huge DIYer and thrifter and it’s one of the things that I was looking forward to when I decided to move to Seattle. Now that I’m settled in, I’m looking forward to checking out the resale scene and find my new stops. I definitely plan on visiting the Seattle Goodwill.
Welcome to Seattle! You’re going to love the thrift scene here. :) Be sure to check out the Seattle Goodwill Outlet in SODO! Everything is sold by the pound and is quite the experience!
omg! the lips one!!!! <3 love it.
Thanks Stephanie!