Affiliate Links / Product Sample
So, this week I’ve covered a makeup tutorial that would be perfect for Valentine’s Day… what about a hair tutorial to go with it? I was playing around this weekend and came up with this slightly messy, slightly romantic, and super easy half top knot hair tutorial. I promise it’s easy and will only take you about 15 minutes including curling your hair! (Because let’s be honest if you’re anything like me you really don’t want to spend hours on your hair!)
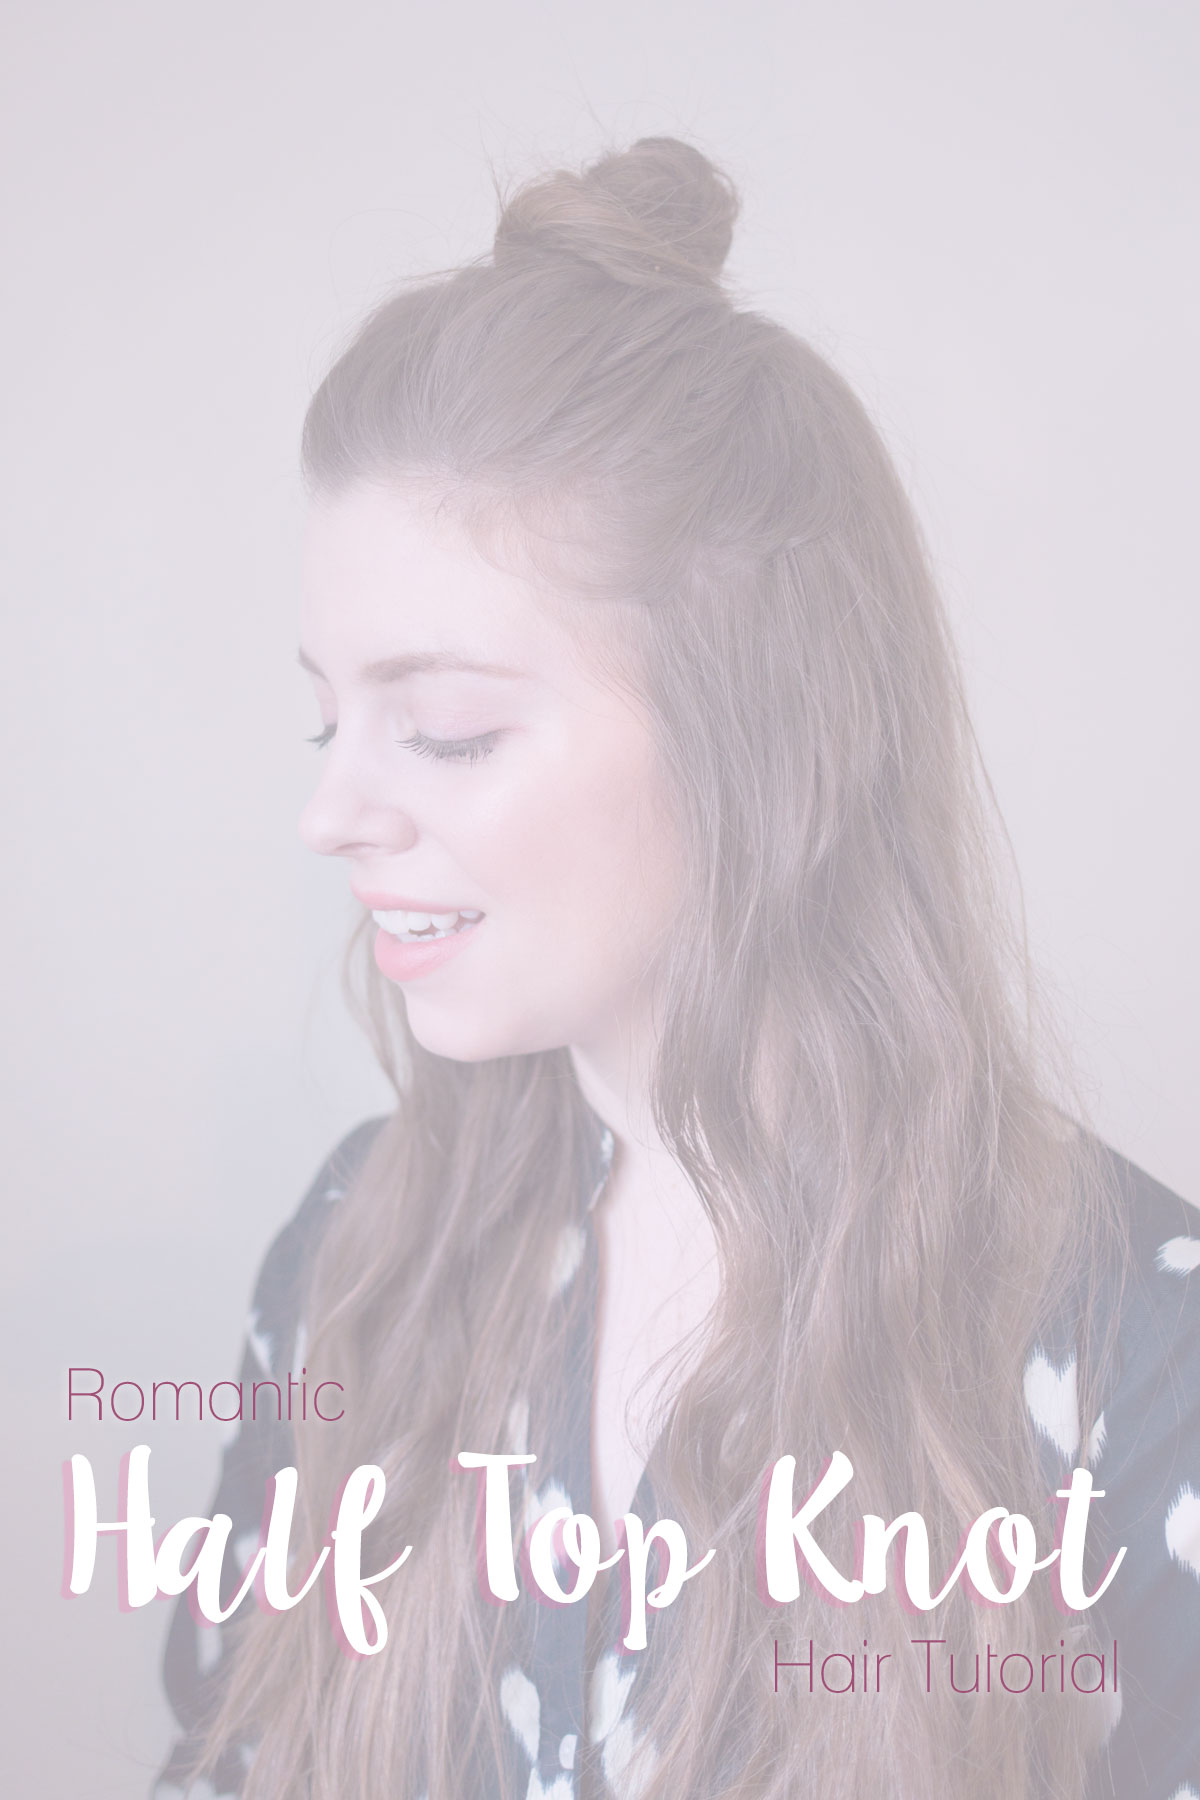
Romantic Half Top Knot Hair Tutorial
What You’ll Need
- Hair Powder or Dry Shampoo (I used Redken’s Powder Grip 03)
- Hair Spray (I used Redken’s Triple Take Hairspray 32)
- Curling Iron (I’m using my NuMe Classic Curling Iron, which was kindly sent to me. This is part of the Power Couple Set and is currently on sale for $99 through 02/29 with code GIFTSET99. Don’t need the set? Use code VDAY50 for 50% off any styling tool & free shipping through 2/14!)
- Bobby Pins
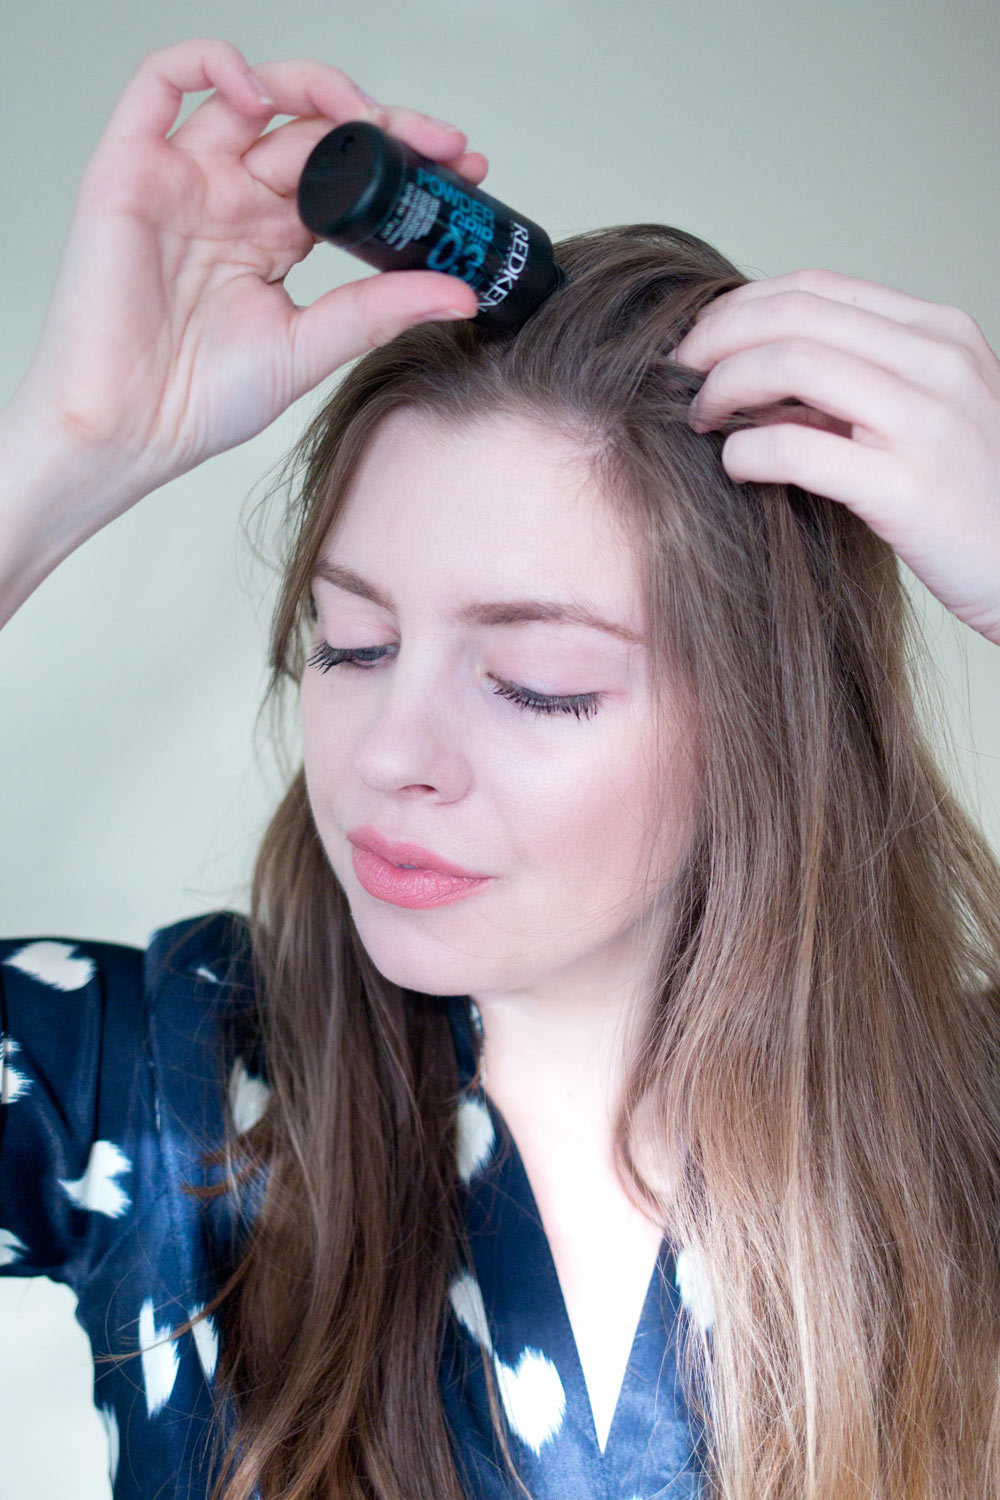 First up, we’re going to prep the hair. I’m using Redken’s Power Grip for this because I wanted to see how it works, and basically it feels like a tackier dry shampoo. If you don’t have a hair powder like this, dry shampoo should work just fine! Just spray or massage into the top of your crown.
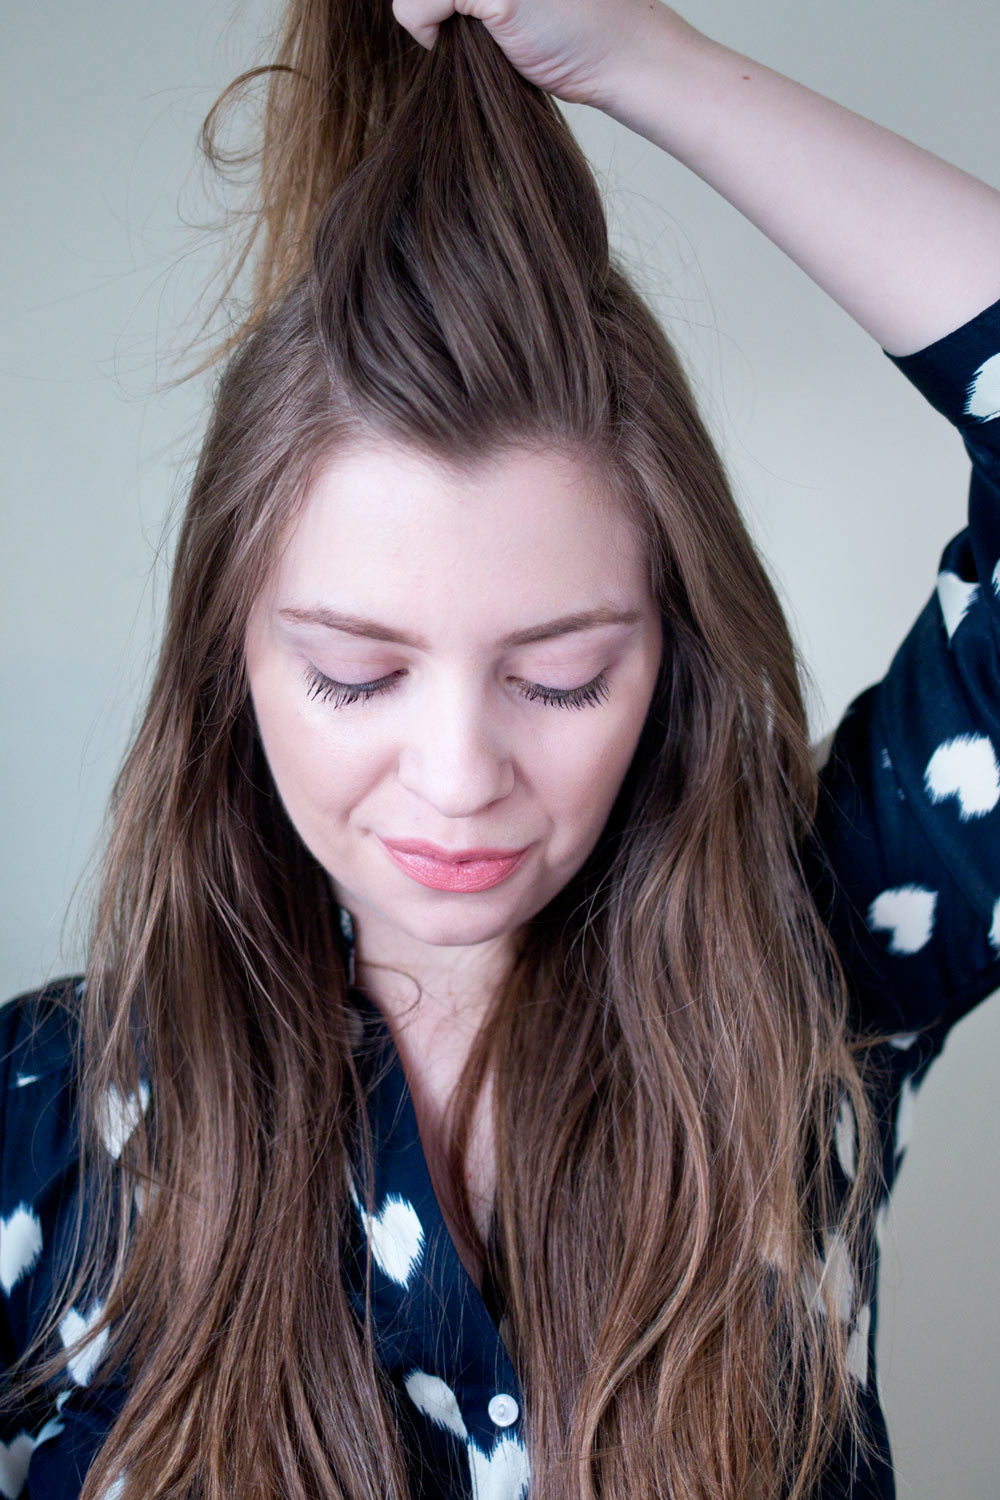
Now section off the top of your head, so you’re grabbing the hair at the very top of your crown. You’re going to want a decent amount for your top knot… unless you don’t, in which case that’s fine too.
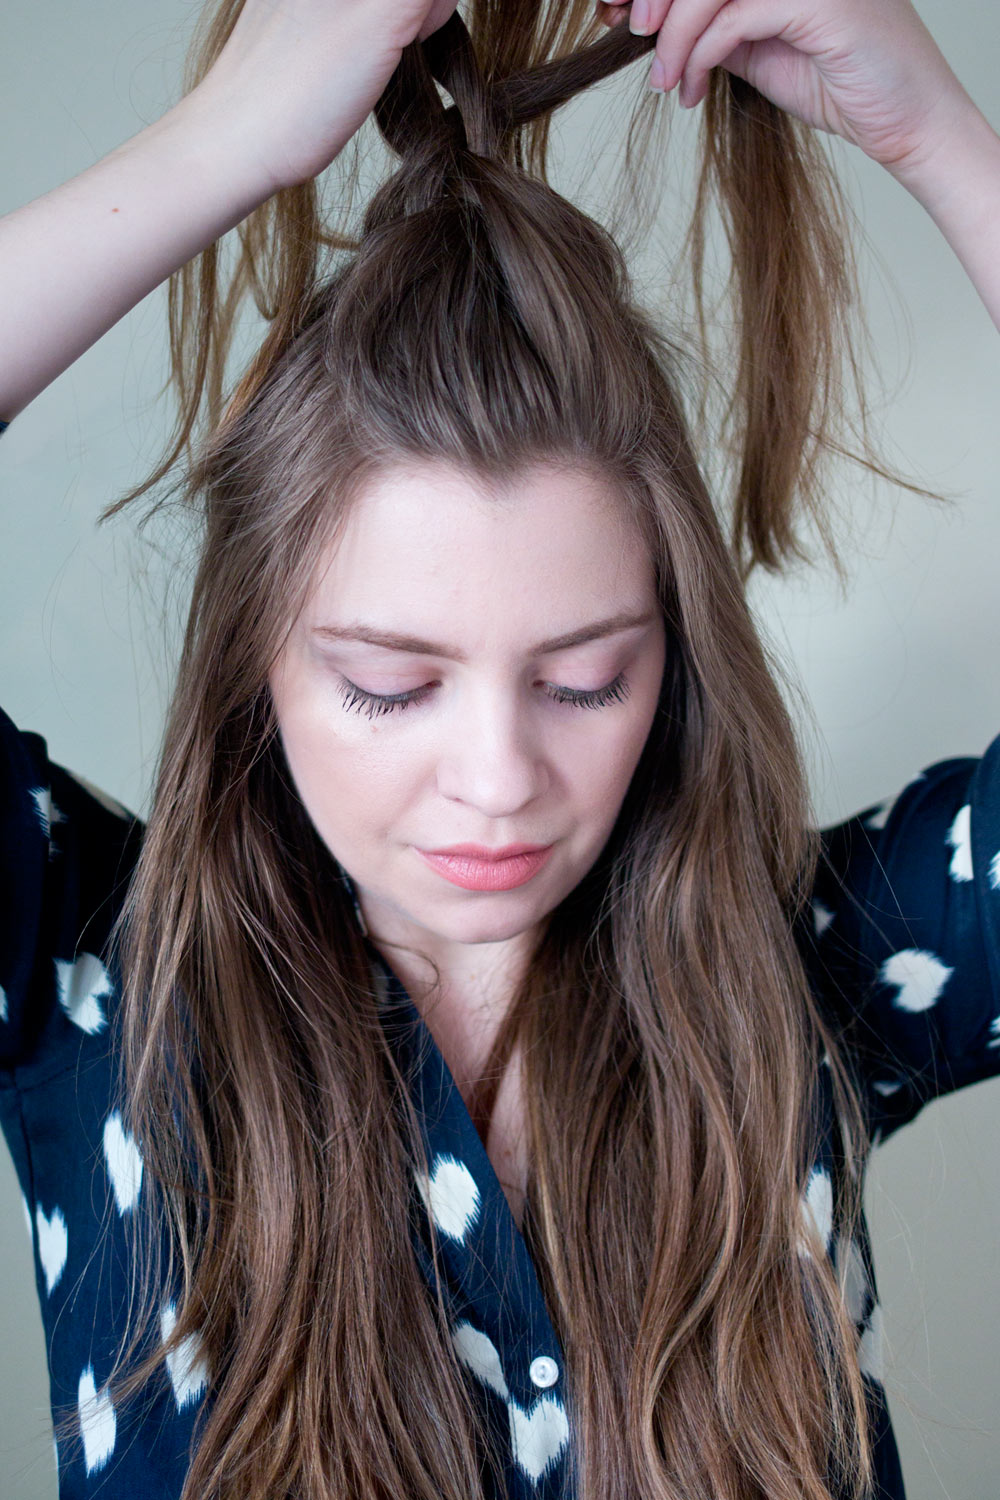 Now for extra volume (and really because I don’t own one of those back comb things) I decided to braid the crown to add some volume. This also made my top knot feel more secure once I pinned it down.
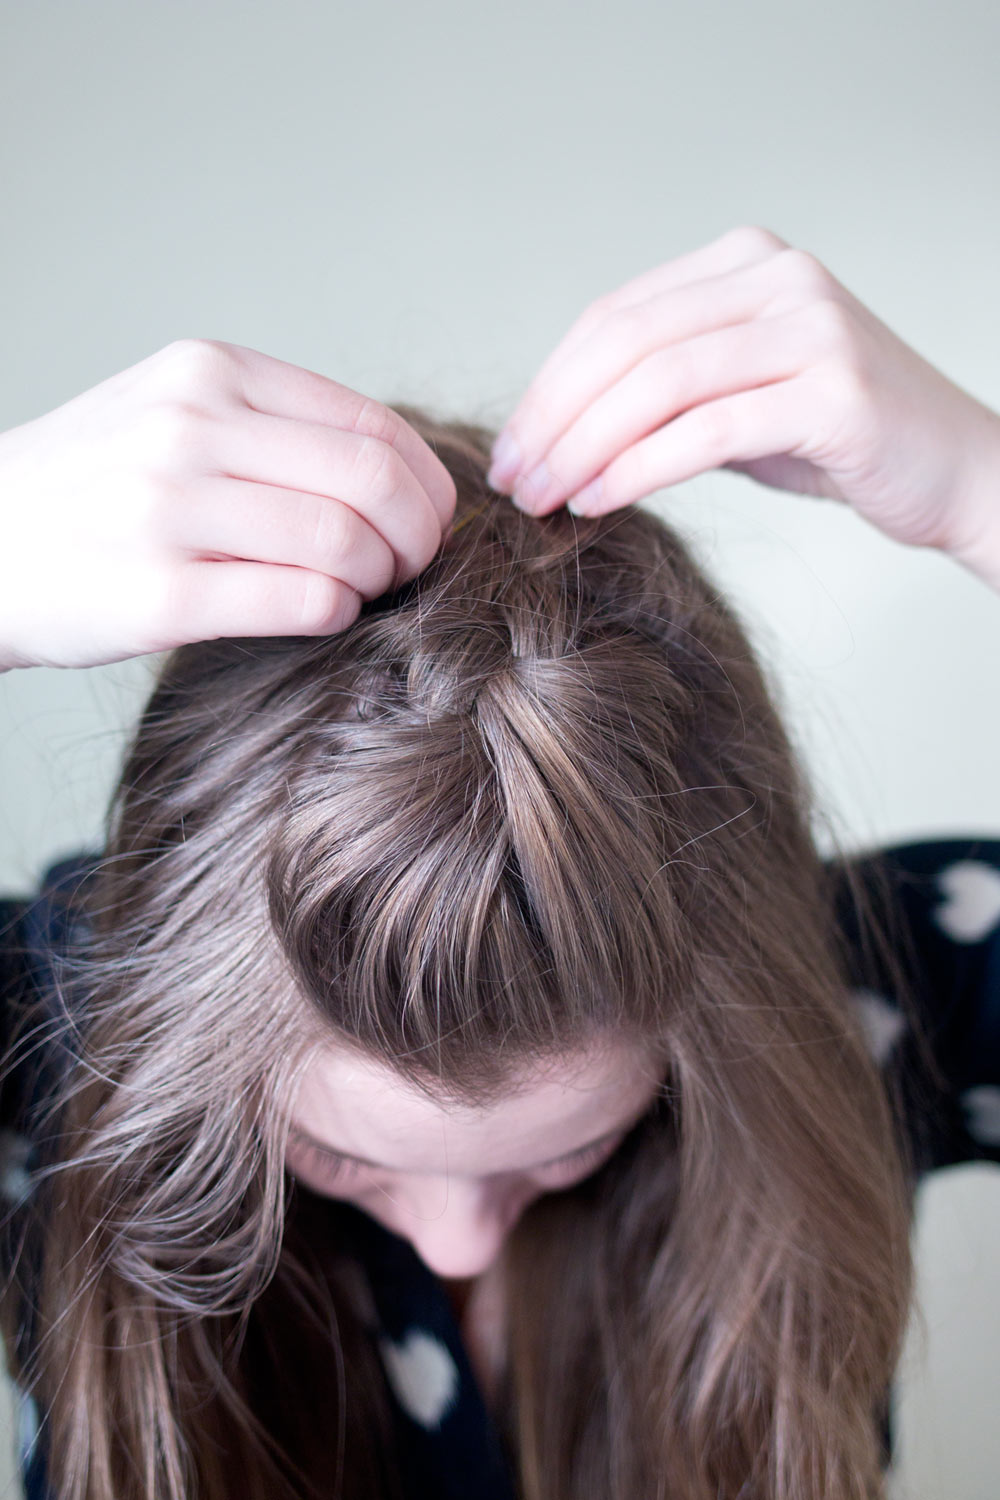 Once you’ve got it braided to the back of your head (without going down the back of your head), use one or two of your bobby pins to secure in place.
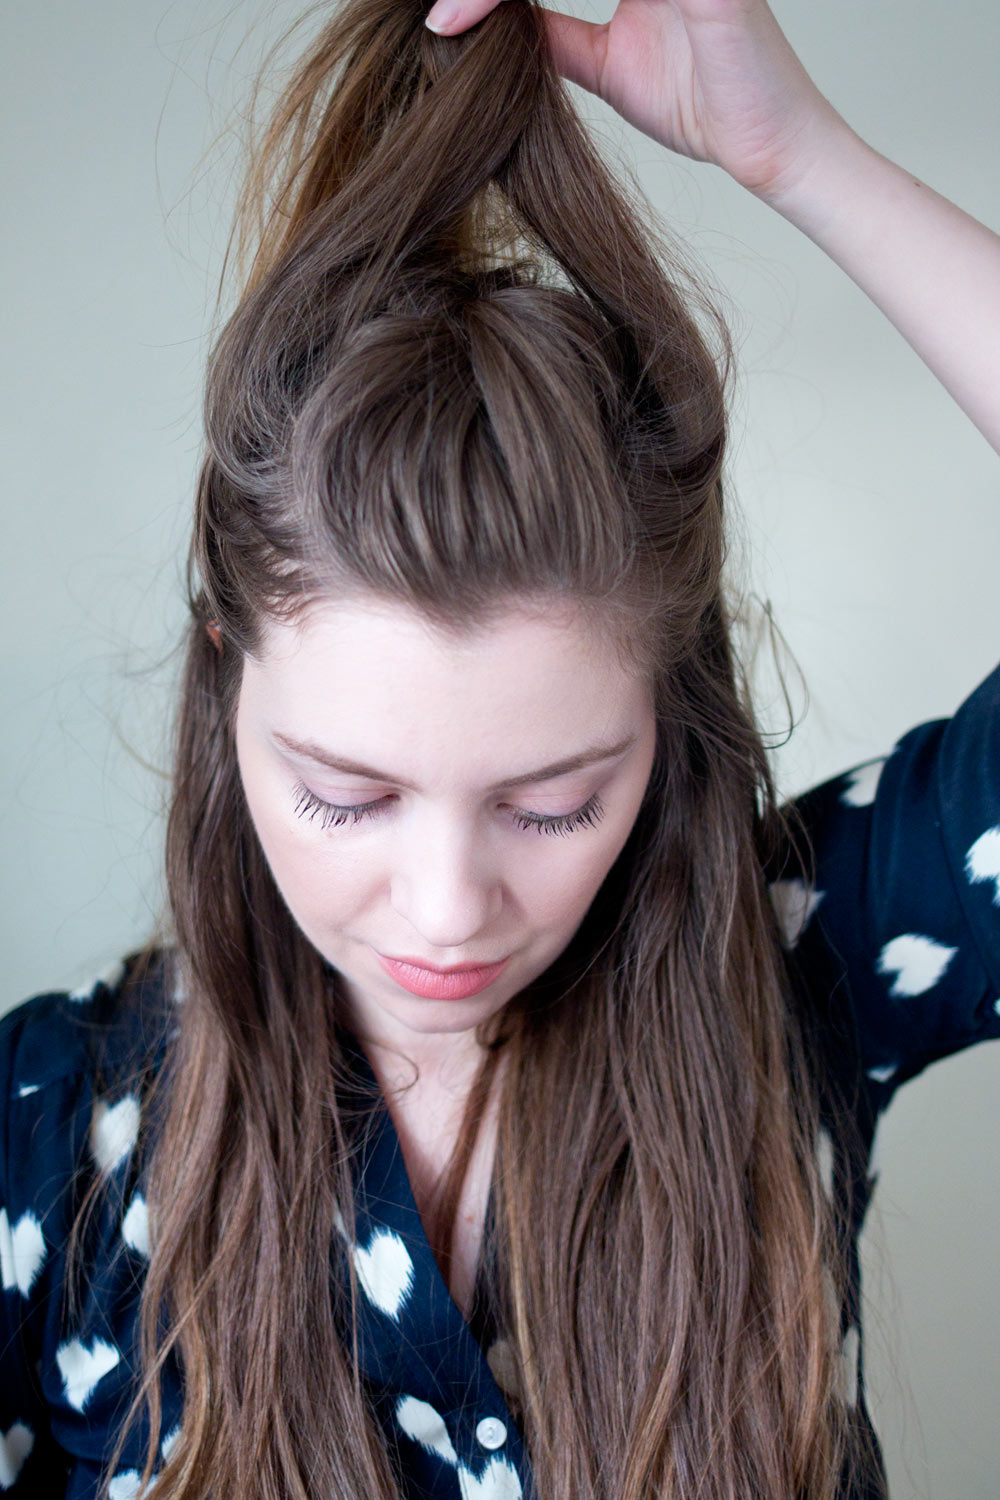 Now with the crown braid in place, grab two new pieces of hair from each side of your head to add to this top knot. We want plenty of hair, so it looks voluminous and full.
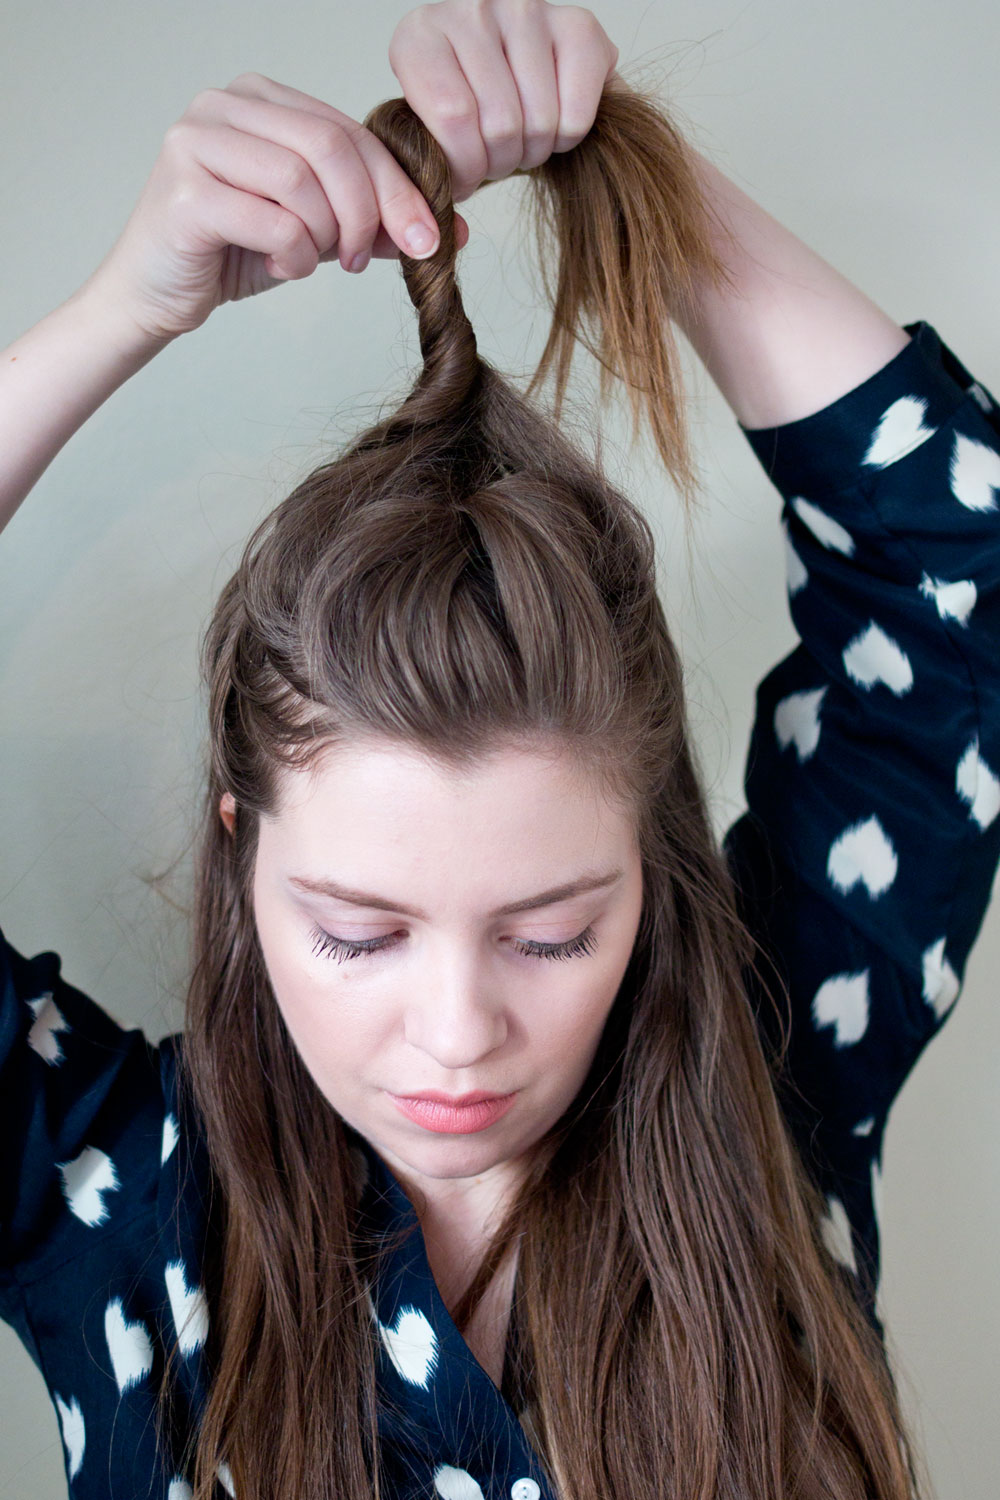
With the end of the braid and the two new sections, twist the hair together.
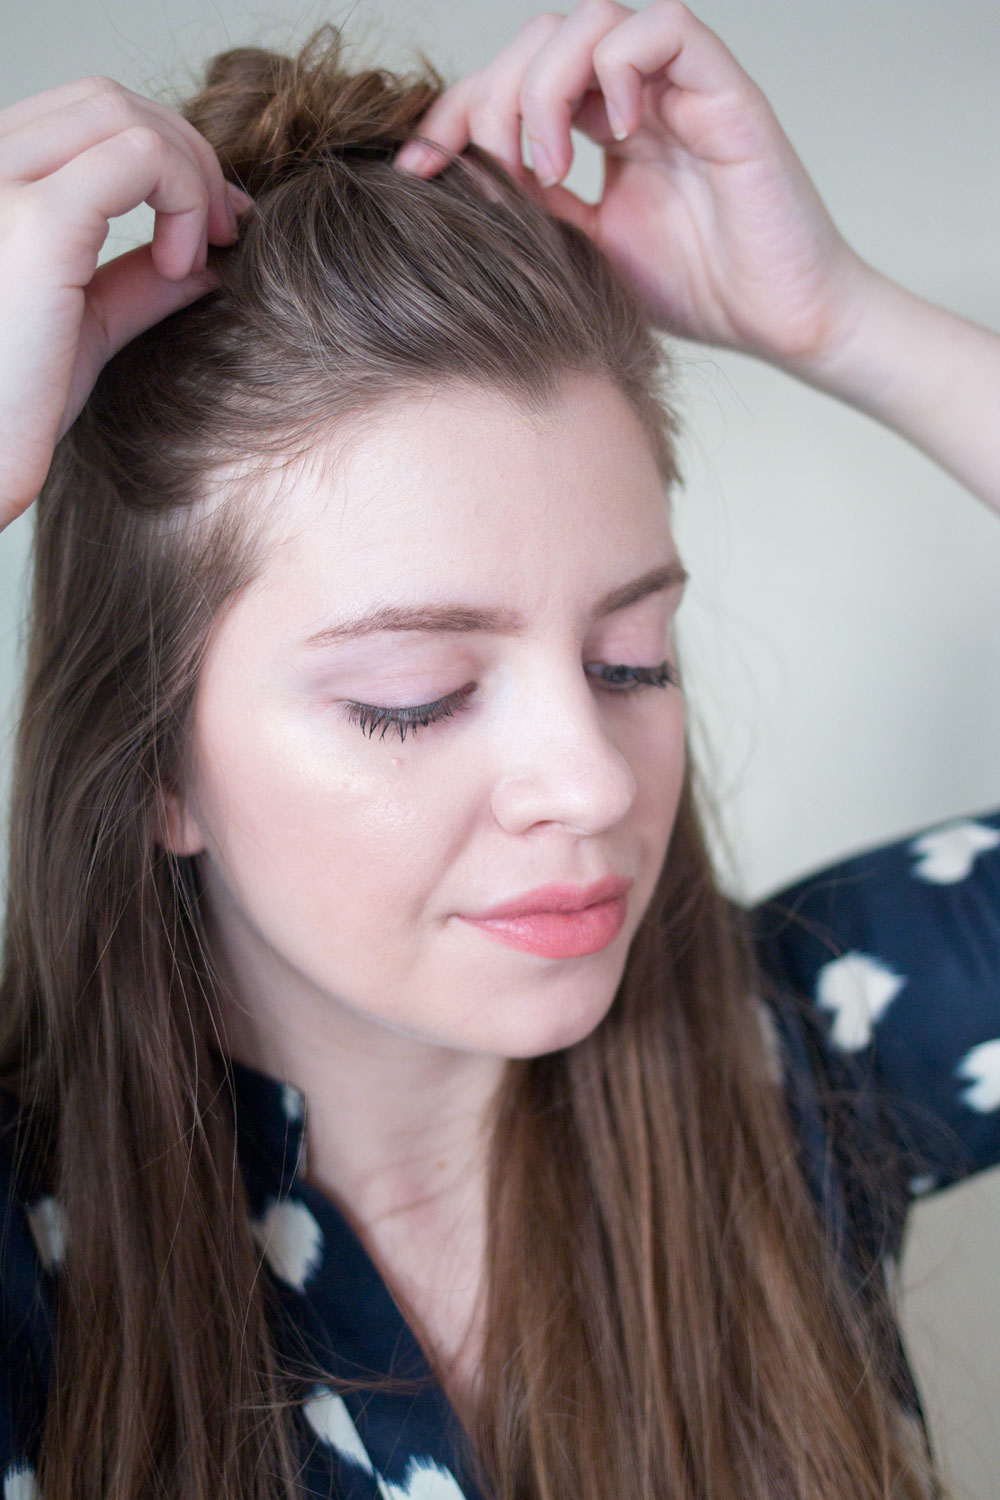
Twist around into a bun shape and pin in place with several bobby pins (I think I used 2-3), then once secure, gently pull the crown braid for volume, and pull the top knot loose for a messier ‘do.
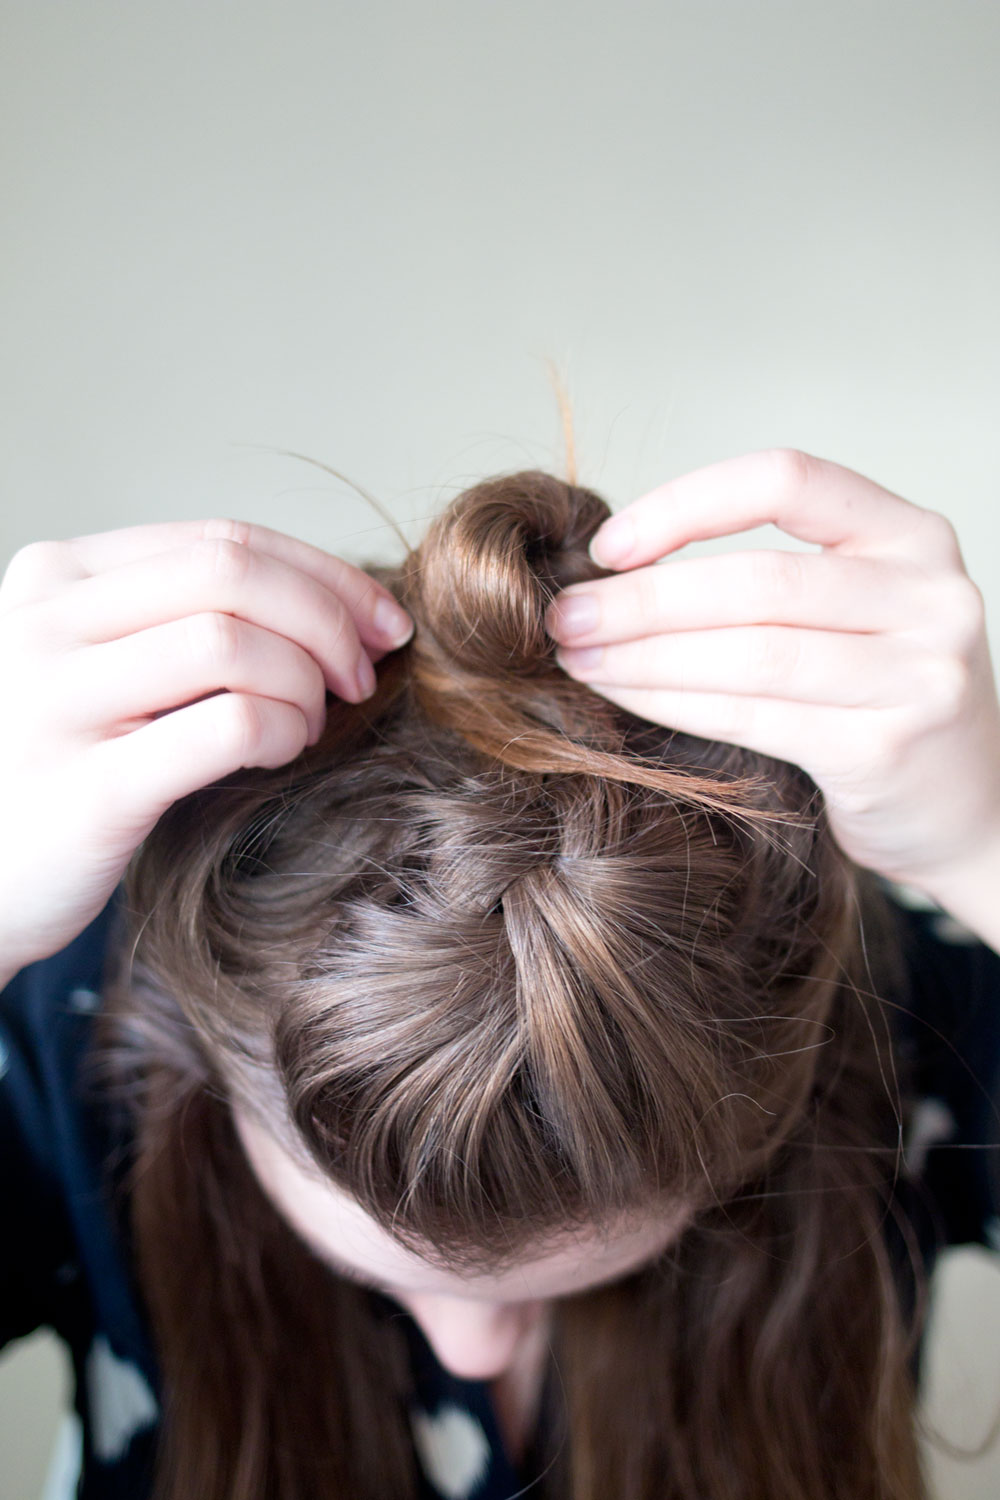
Not a fan of the messy look? You can use additional bobby pins to secure stray tendrils in place instead.
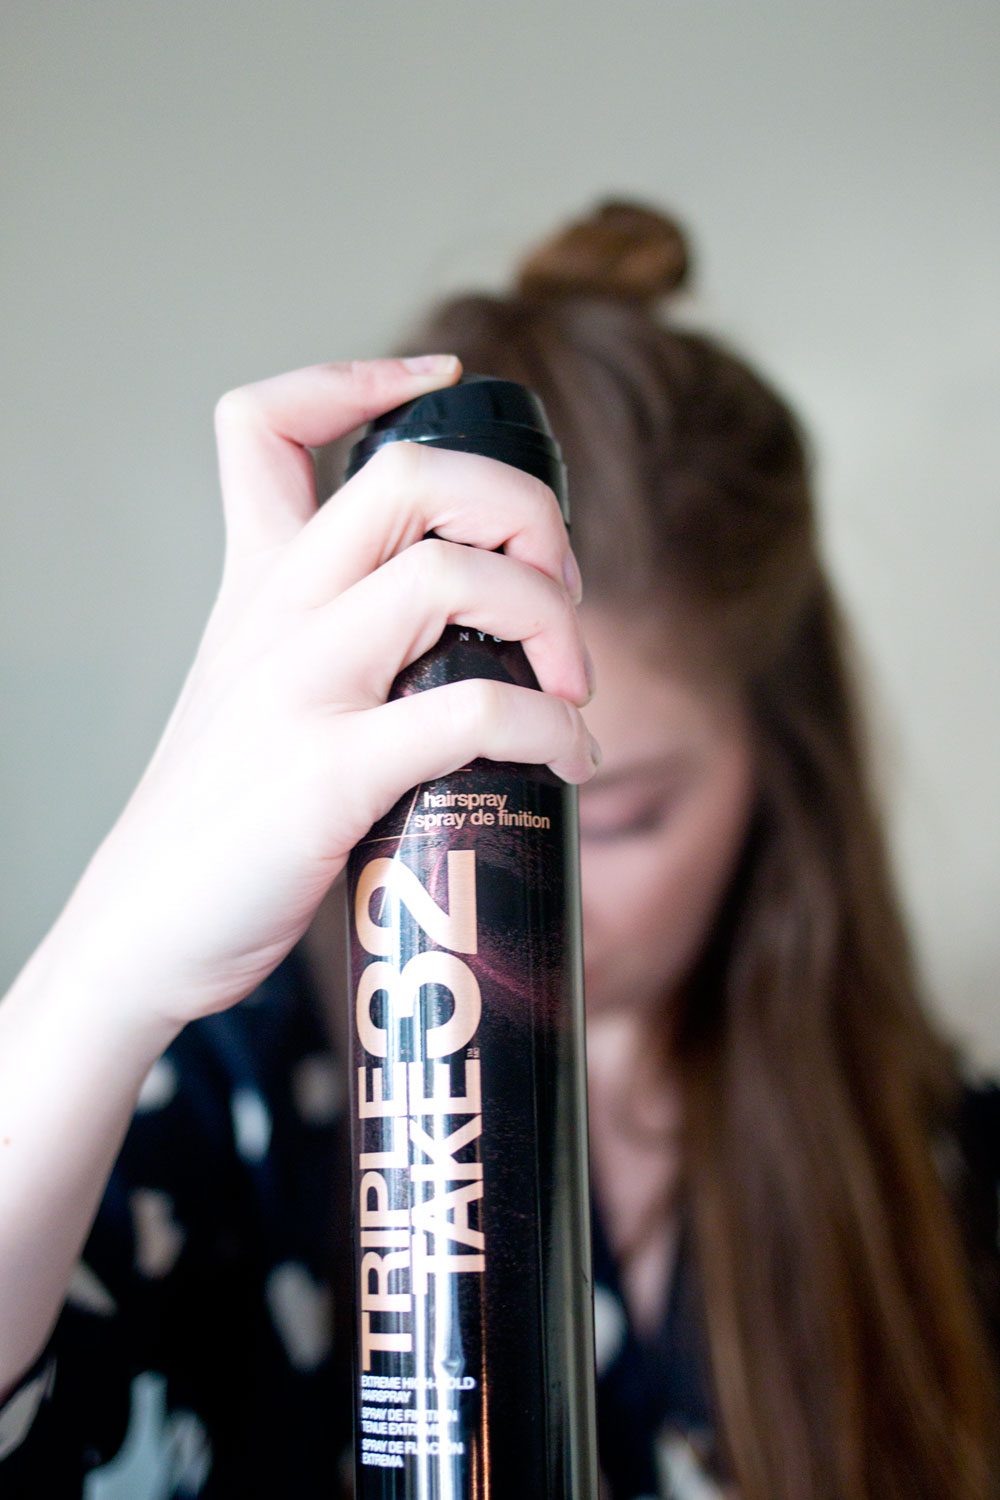
Then, spritz with hairspray to secure the work you just did. ;)
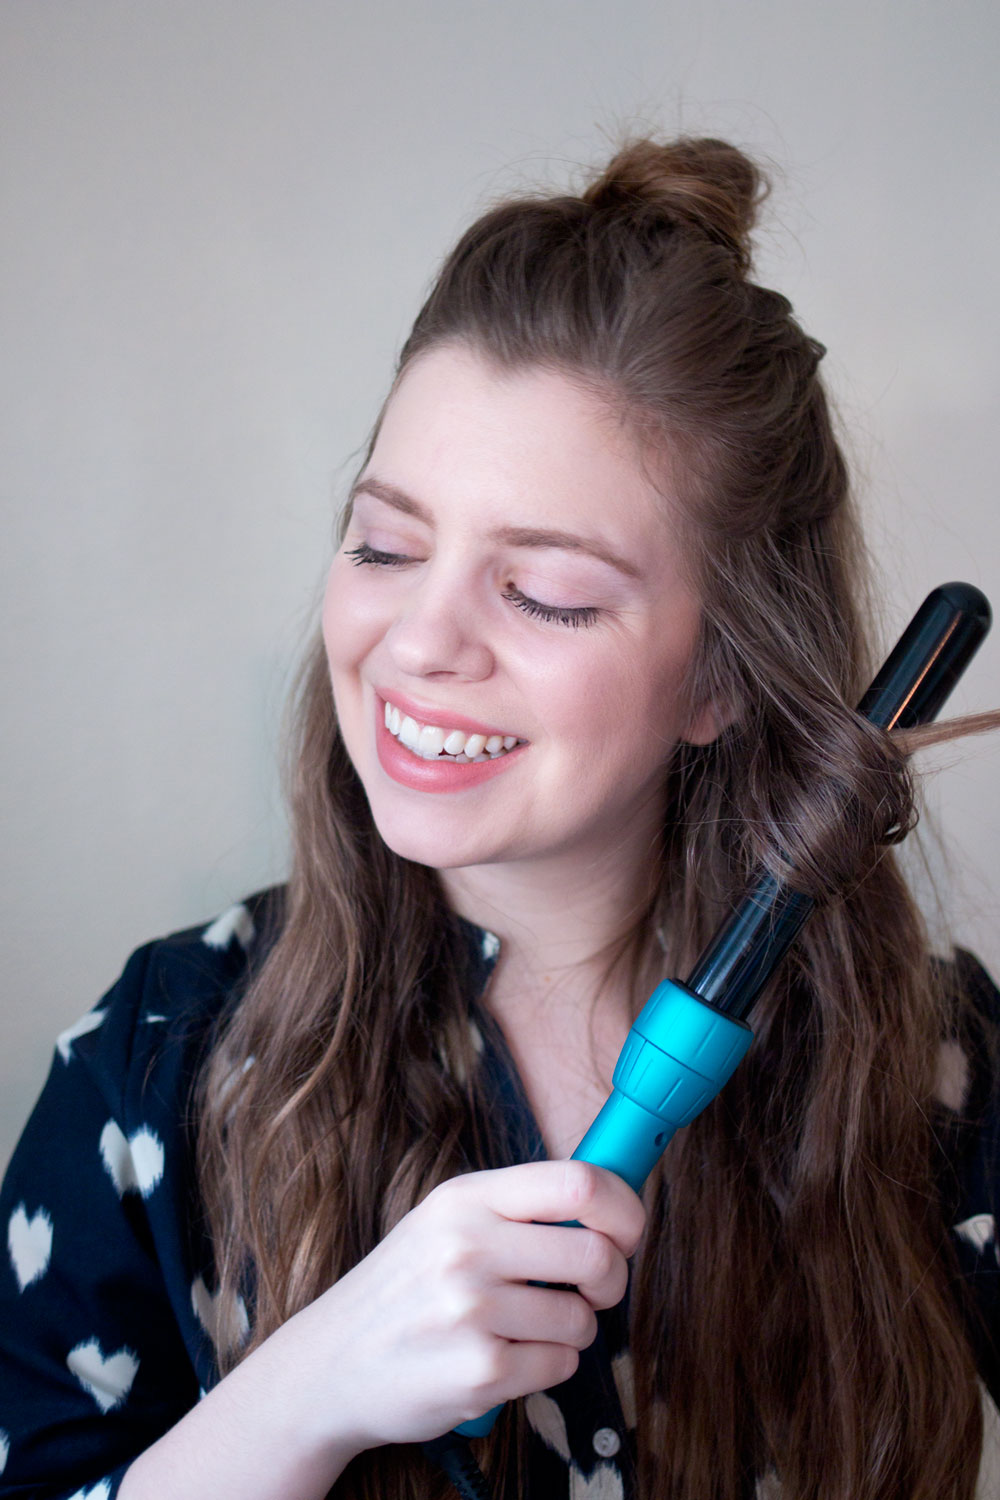 Now, you could stop here if you want… but this is Valentine’s Day, so you should probably just go for it. I’m talking about adding those curls for a romantic vibe! I’m using the NuMe Classic Curling Iron to add very loose curls. The way I achieved this is by taking larger sections of hair and holding it for 15-20 seconds. This makes the curling part go faster since you’re doing less of your head and because the heat doesn’t fully penetrate, they end up looking less like ringlets.
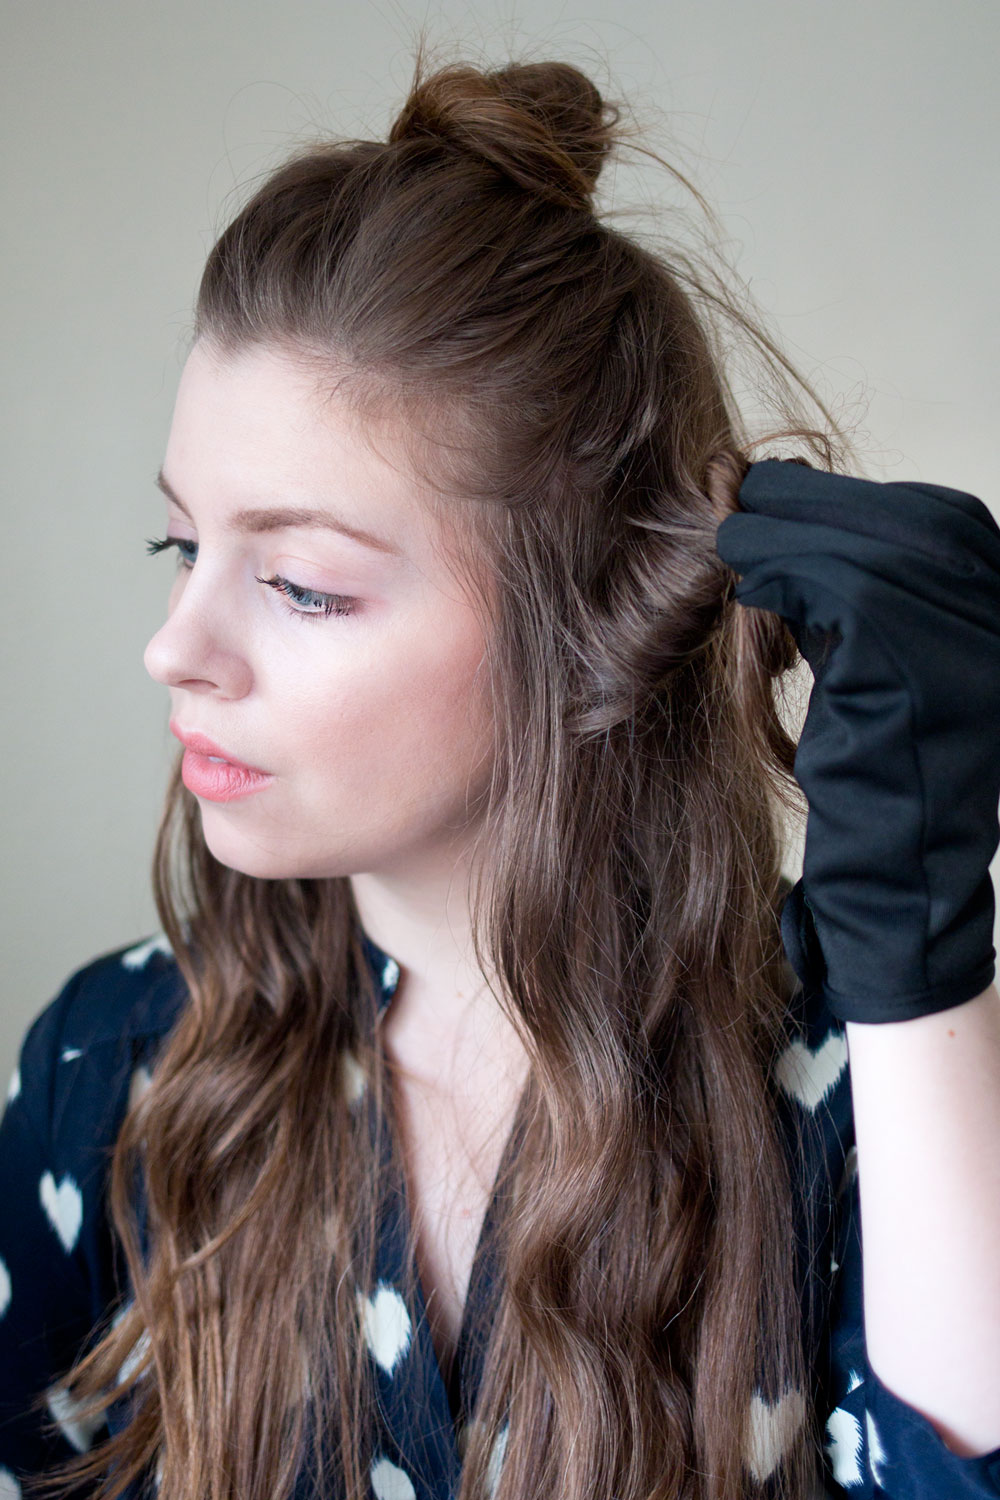 Keep in mind, this is a wand and is clipless, which means you’re going to want to be sure to use the included glove, so you don’t burn yourself. After each curl, I held the curl for about 5 seconds so it could cool down before releasing it. I skipped spraying each curl with hairspray because I didn’t want it to feel too crunchy.
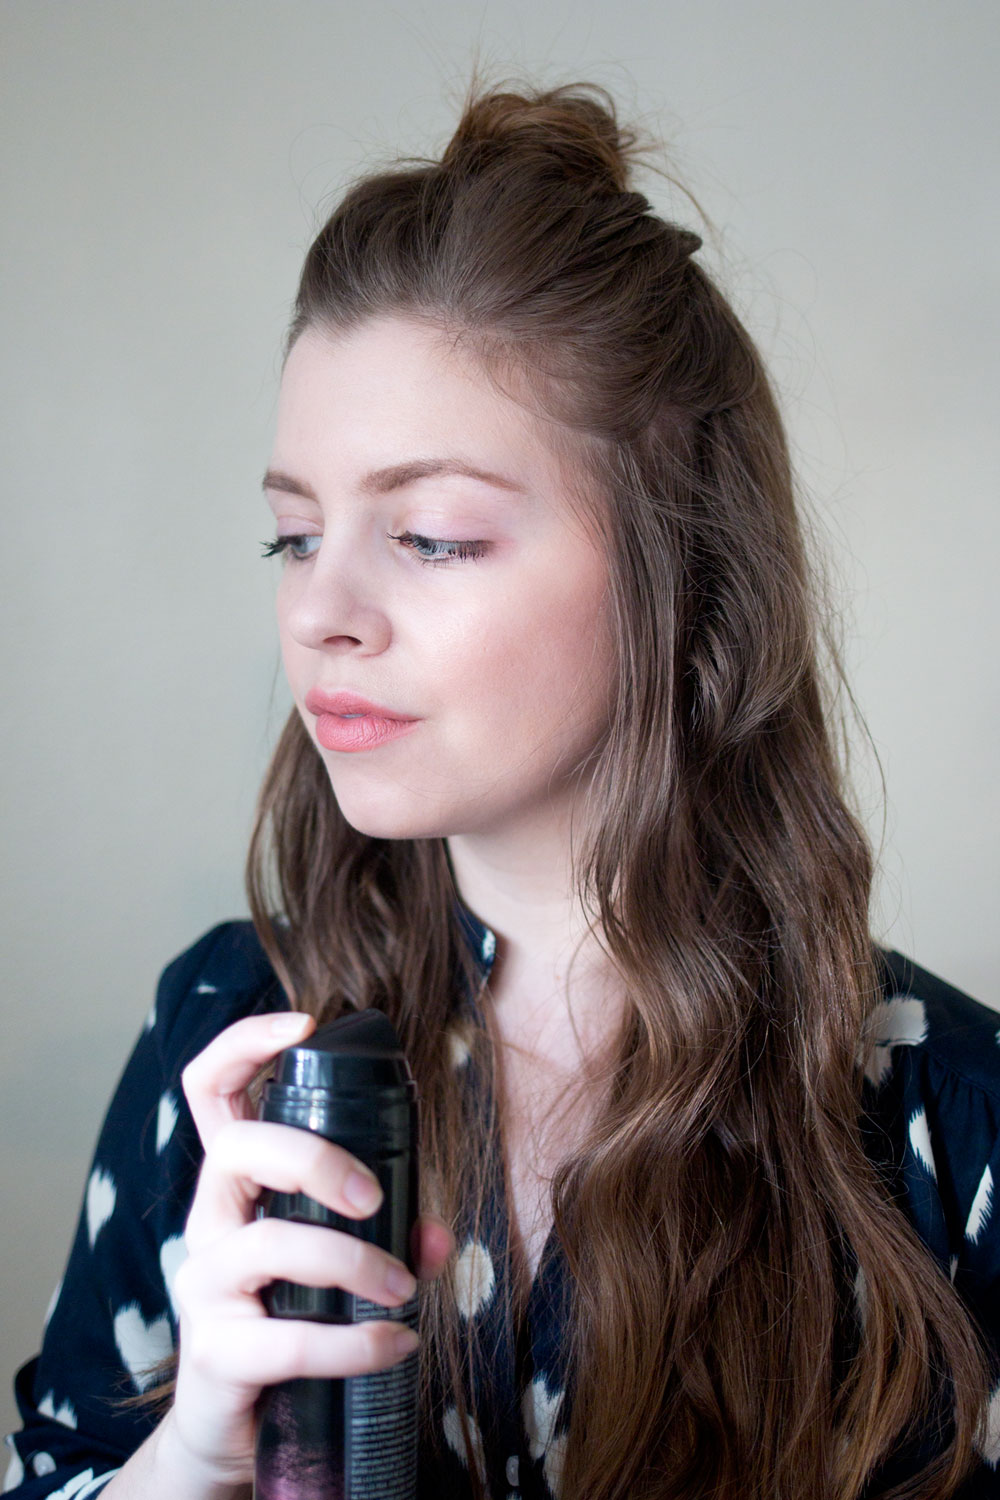
Once I’ve curled all of the hairs, I then sprayed a light coating of hairspray and combed out the curls with my fingers.
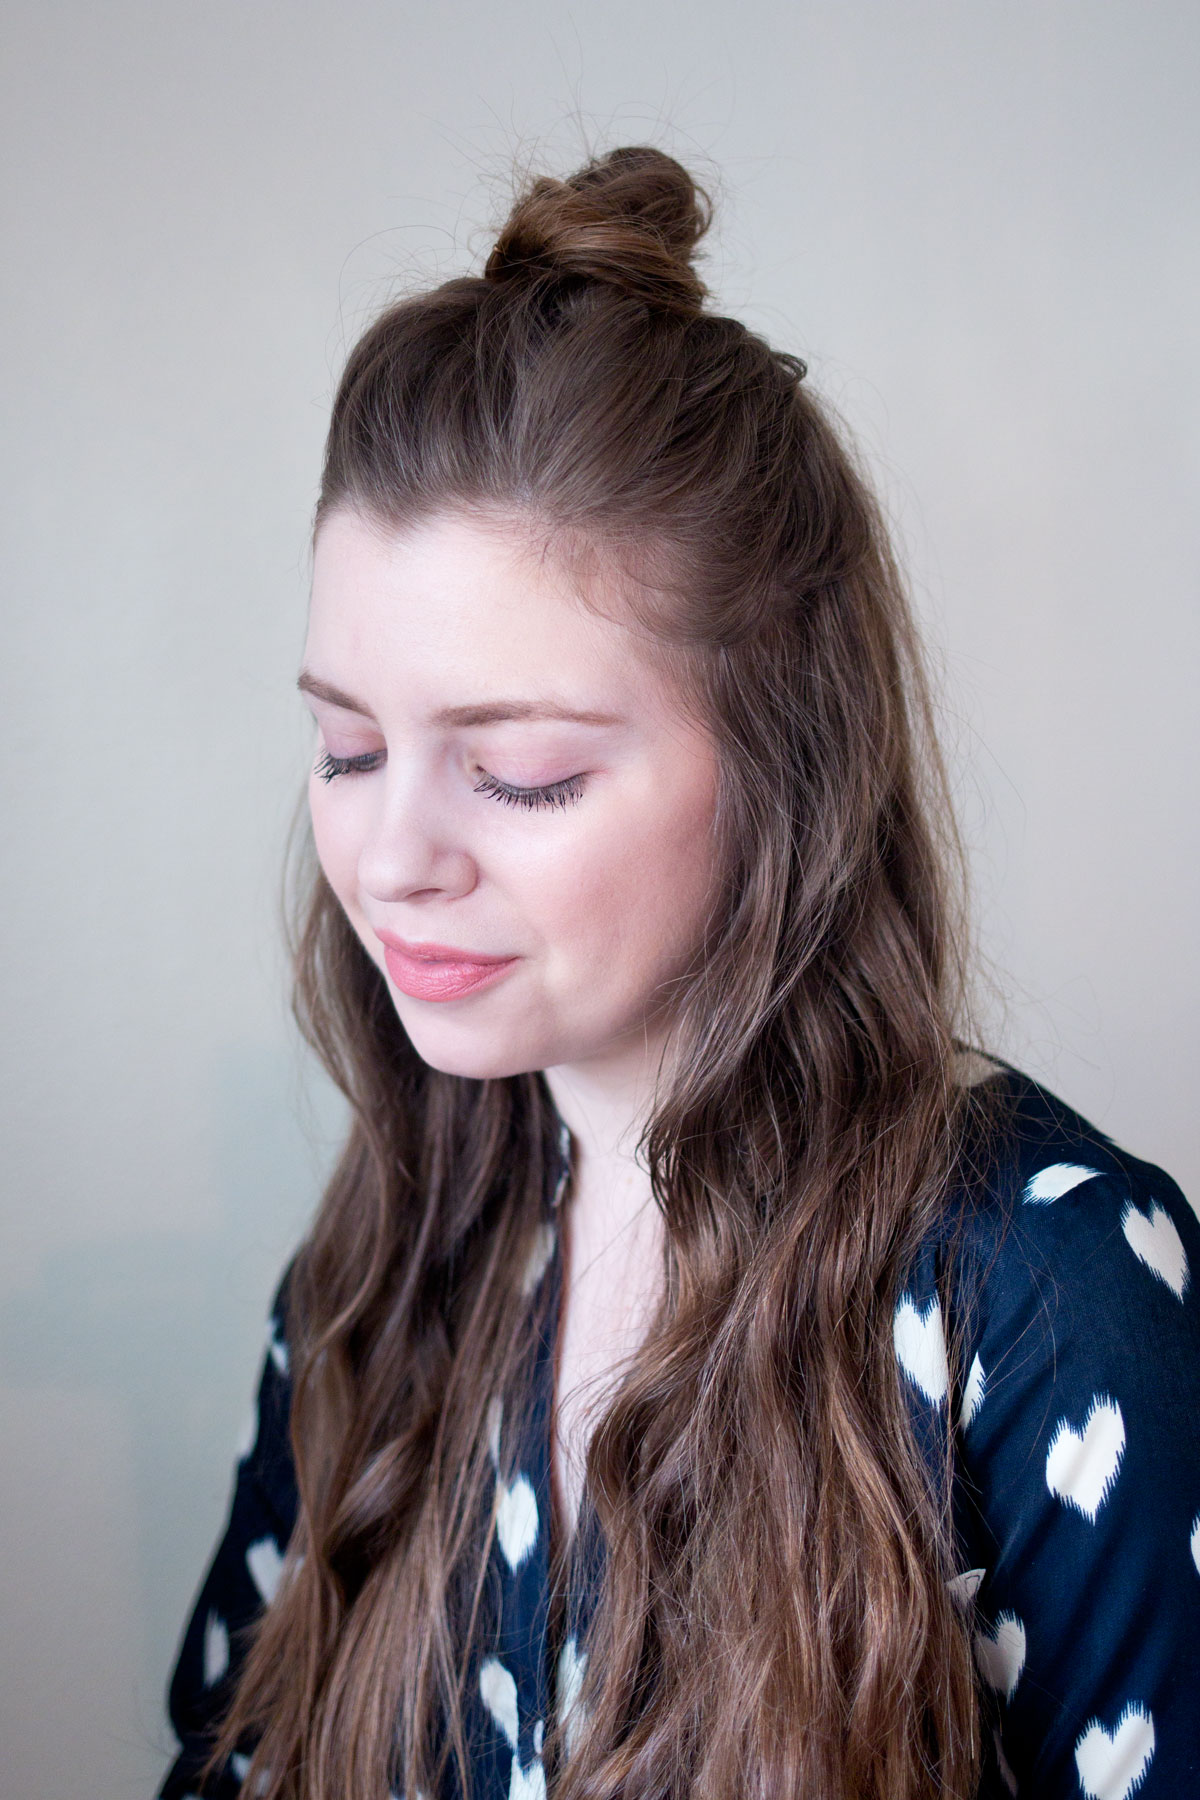 And with that, you’re good to go! Enjoy your Valentine’s festivities with this simple, tousled half top knot. Finish it off with this soft Valentine’s makeup look or go bold with a sultry smoky eye.
How are you spending your Valentine’s Day? Will you be doing something fun and different with your hair for the holiday?


You are rocking that half top knot! I love that you added in some braiding with it. Maybe I should just give in and try to rock a half top knot, too…
Aw thanks Emily! Absolutely you should! :)
I’m not the biggest fan of the half top knot….maybe because it doesn’t look good on me…but girl you’re rocking it!
Aw thank you Ashten!
It does look really pretty, I am going to be trying this.
Thanks Holly! Hope you were able to try this makeup look out! :)
That looks beautiful and romantic. My hair is too short for it, but i love the look a lot and you wear it well.
Thank you so much Carol!
This reminds me a little of the Khloe Kardashian look, and I really dig it! You’re rocking it, thanks for the tutorial!
Laura | Laura Aime Vous
Aw thanks Laura! I didn’t even think of that but you’re right, she definitely rocks a similar hairstyle!
That is a very nice and cool look. I enjoy it. I will probably not manage to do it, but I will give it a try! :)
Thanks Paola! :)
I’m still working on perfecting the top knot. I also think I want that curling wand now…
I really like it! Now that I’ve graduated beyond my InstaWave it’s so much easier and faster with a clipless regular wand. ;)
That looks super cute! I wish my hair was a little longer because a half-top knot looks incredibly silly with short hair.
Thanks Acacia! Definitely something to try out if you ever grow out your hair! :)